


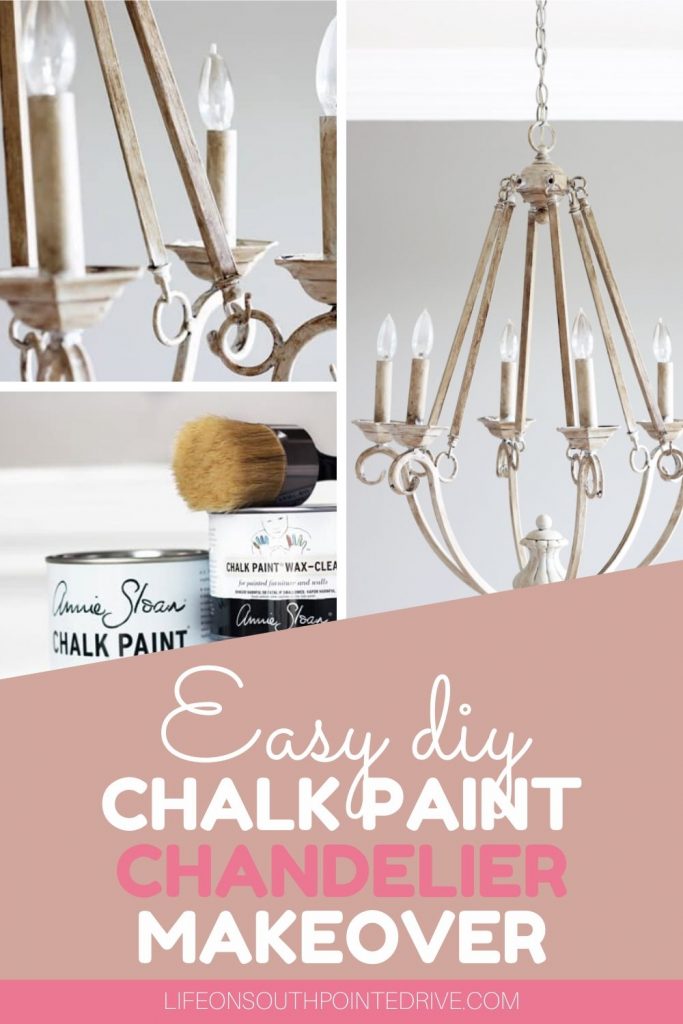
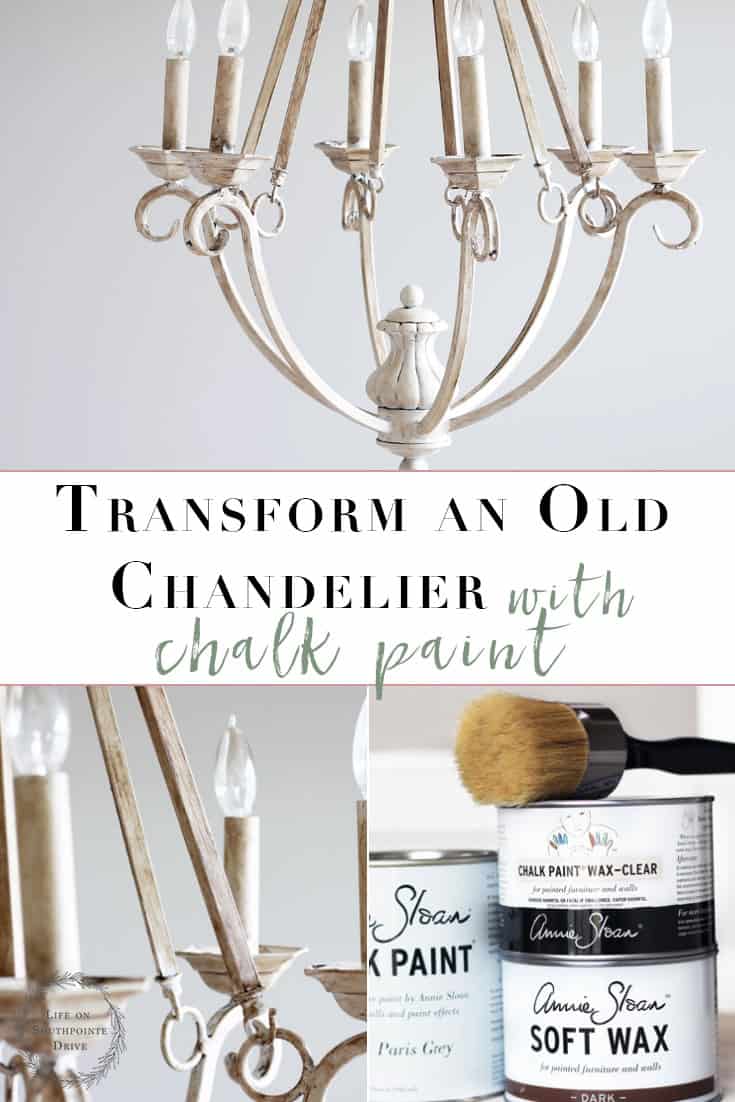
Looking for a way to transform that outdated chandelier? Update it with a little chalk paint for a gorgeous transformation! Here is an easy DIY Chalk Paint Chandelier Makeover!
When I get asked the question what DIY projects make the biggest impact without breaking the bank I always go to painting. I usually always recommend painting baseboards and walls will give you the most bang for your buck, but let’s not leave out painting a few other outdated items in the home. You can bring life to about any outdated item with just a little paint. Like painting an upholstered chair or aging furniture with milk paint. Today though I want to talk about bringing life to those outdated chandeliers with just a little chalk paint and dark wax. This chalk paint chandelier makeover is an easy Saturday project and I promise, you won’t regret it!


This post contains some affiliate links for your convenience. For more info, please see my full disclosures here.

DIY Chalk Paint Chandelier
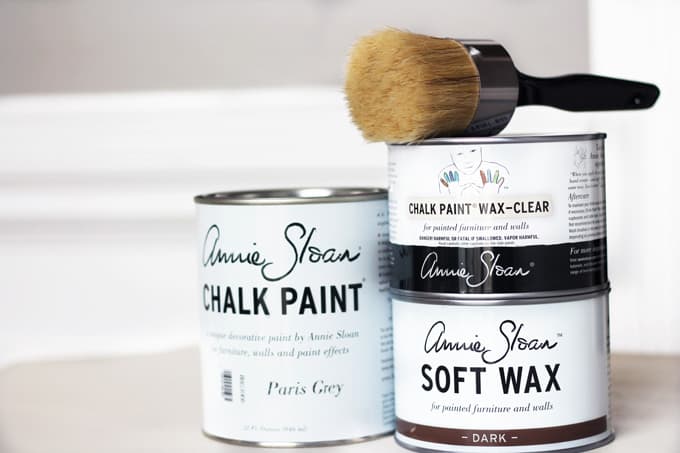
Materials Needed:
- Annie Sloan Chalk Paint Paris Grey
- Chalk Paint Brush
- Annie Sloan Clear Wax (similar linked)
- Annie Sloan Dark Wax(similar linked)
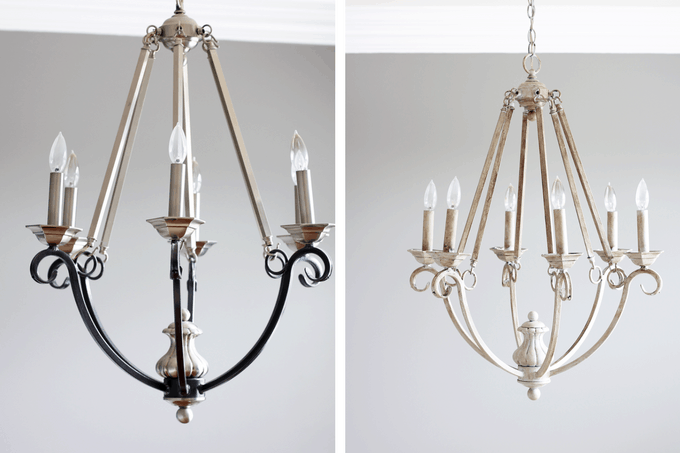
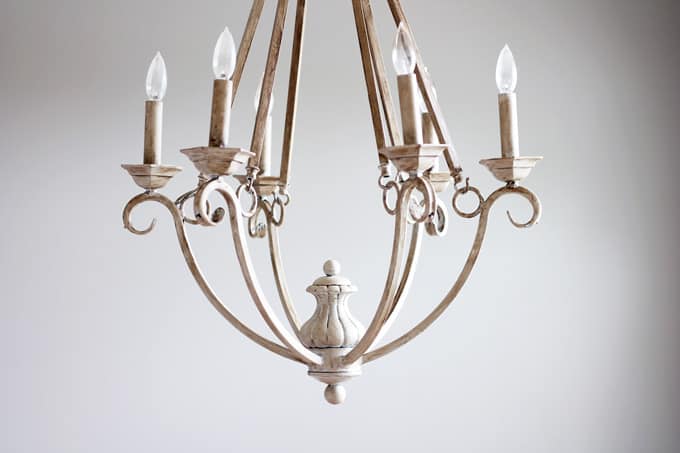
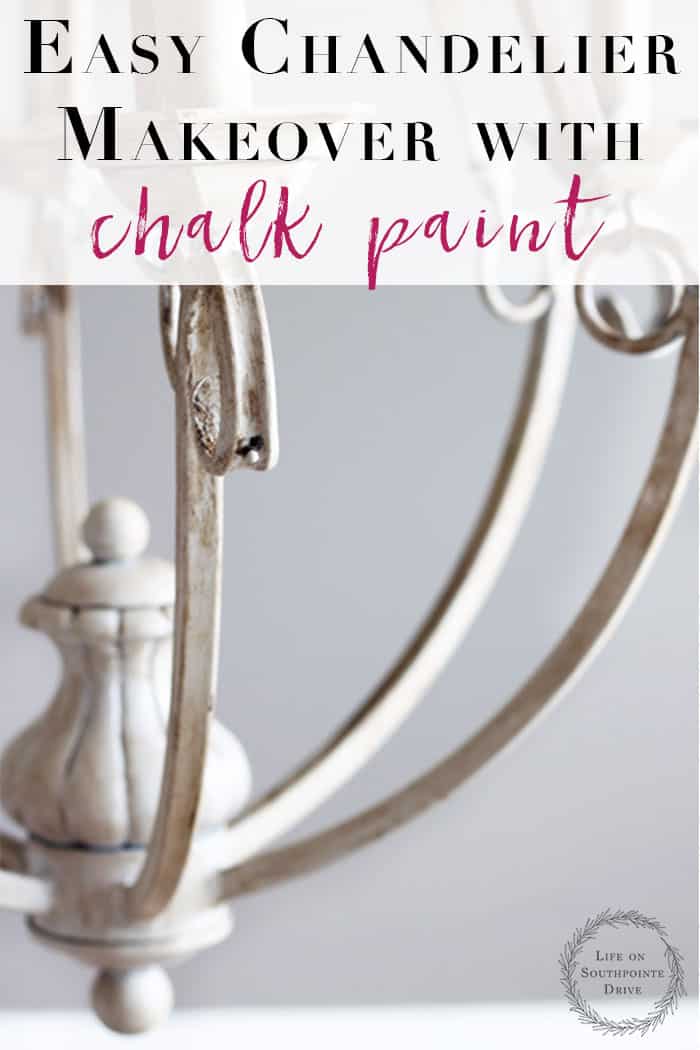
Before we dive in, let’s take a look at a quick little before and after! As you can see the chandelier wasn’t necessarily old, it was just outdated and didn’t match my home, or the look I was going for. You know that Restoration Hardware look for a fraction of the cost! 😉 Please note that I wasn’t able to take pictures of the process, my hands were a mess and I didn’t want to risk messing up my good camera.

Steps for a DIY Chalk Paint Chandelier:
Step 1:
First you will need to gather your supplies. I got my Annie Sloan paint from a local store, but you can order it online. I have also hear great things about the Rust-Oleum chalk paint, but I have personally never used it. I went with Annie Sloan because I have used it in the past and wanted the specific Paris Grey color. It is also very important to note that you will need to have a good quality chalk paint brush. The last thing you want is for the bristles to come off into your paint!
Step 2:
Second you will want to start painting. Chalk paint tries very quickly but I made sure to give about an hour between my 2 coats. Make sure to cover the chandelier completely as well as the chain and the ceiling plate. Don’t be alarmed if after the first coat you feel like you have ruined your fixture. The magic starts to happen after the second coat!

Step 3:
Next, you will want to add your clear wax. This step is really important. If you aren’t adding clear wax before the dark wax you can’t fix it if you mess up. So make sure to give the chandelier a nice coat of clear wax. This is easiest done working in sections.
Step 4:
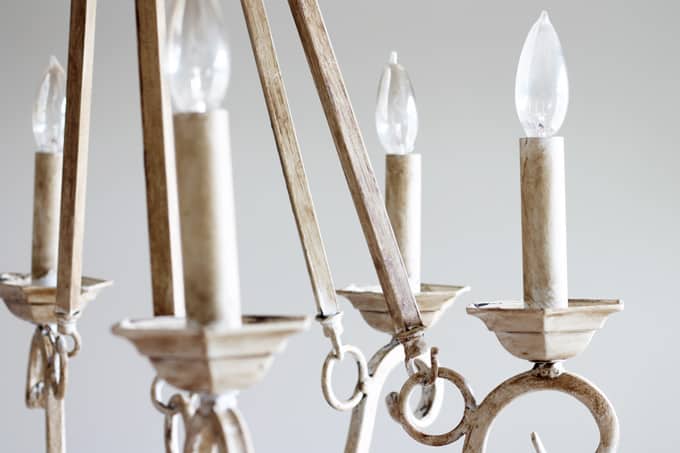
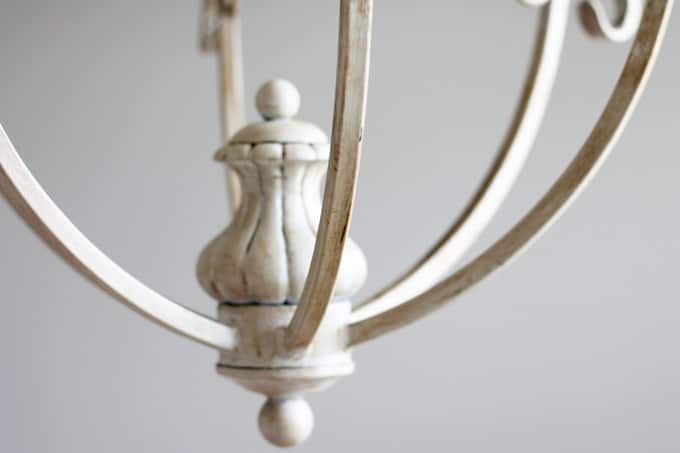
Finally, you will want to add your dark wax. There is not set in stone process for this part. I simply added the dark wax and immediately rubbed it off with an old rag until I was happy with the look. I only did 2 coats of the dark wax and I finally achieved the look I was going for. If you mess up it’s ok, dark wax is forgiving and as long as you added the clear wax before the dark wax you can simply take it off with a little bit of clear wax! 🙂
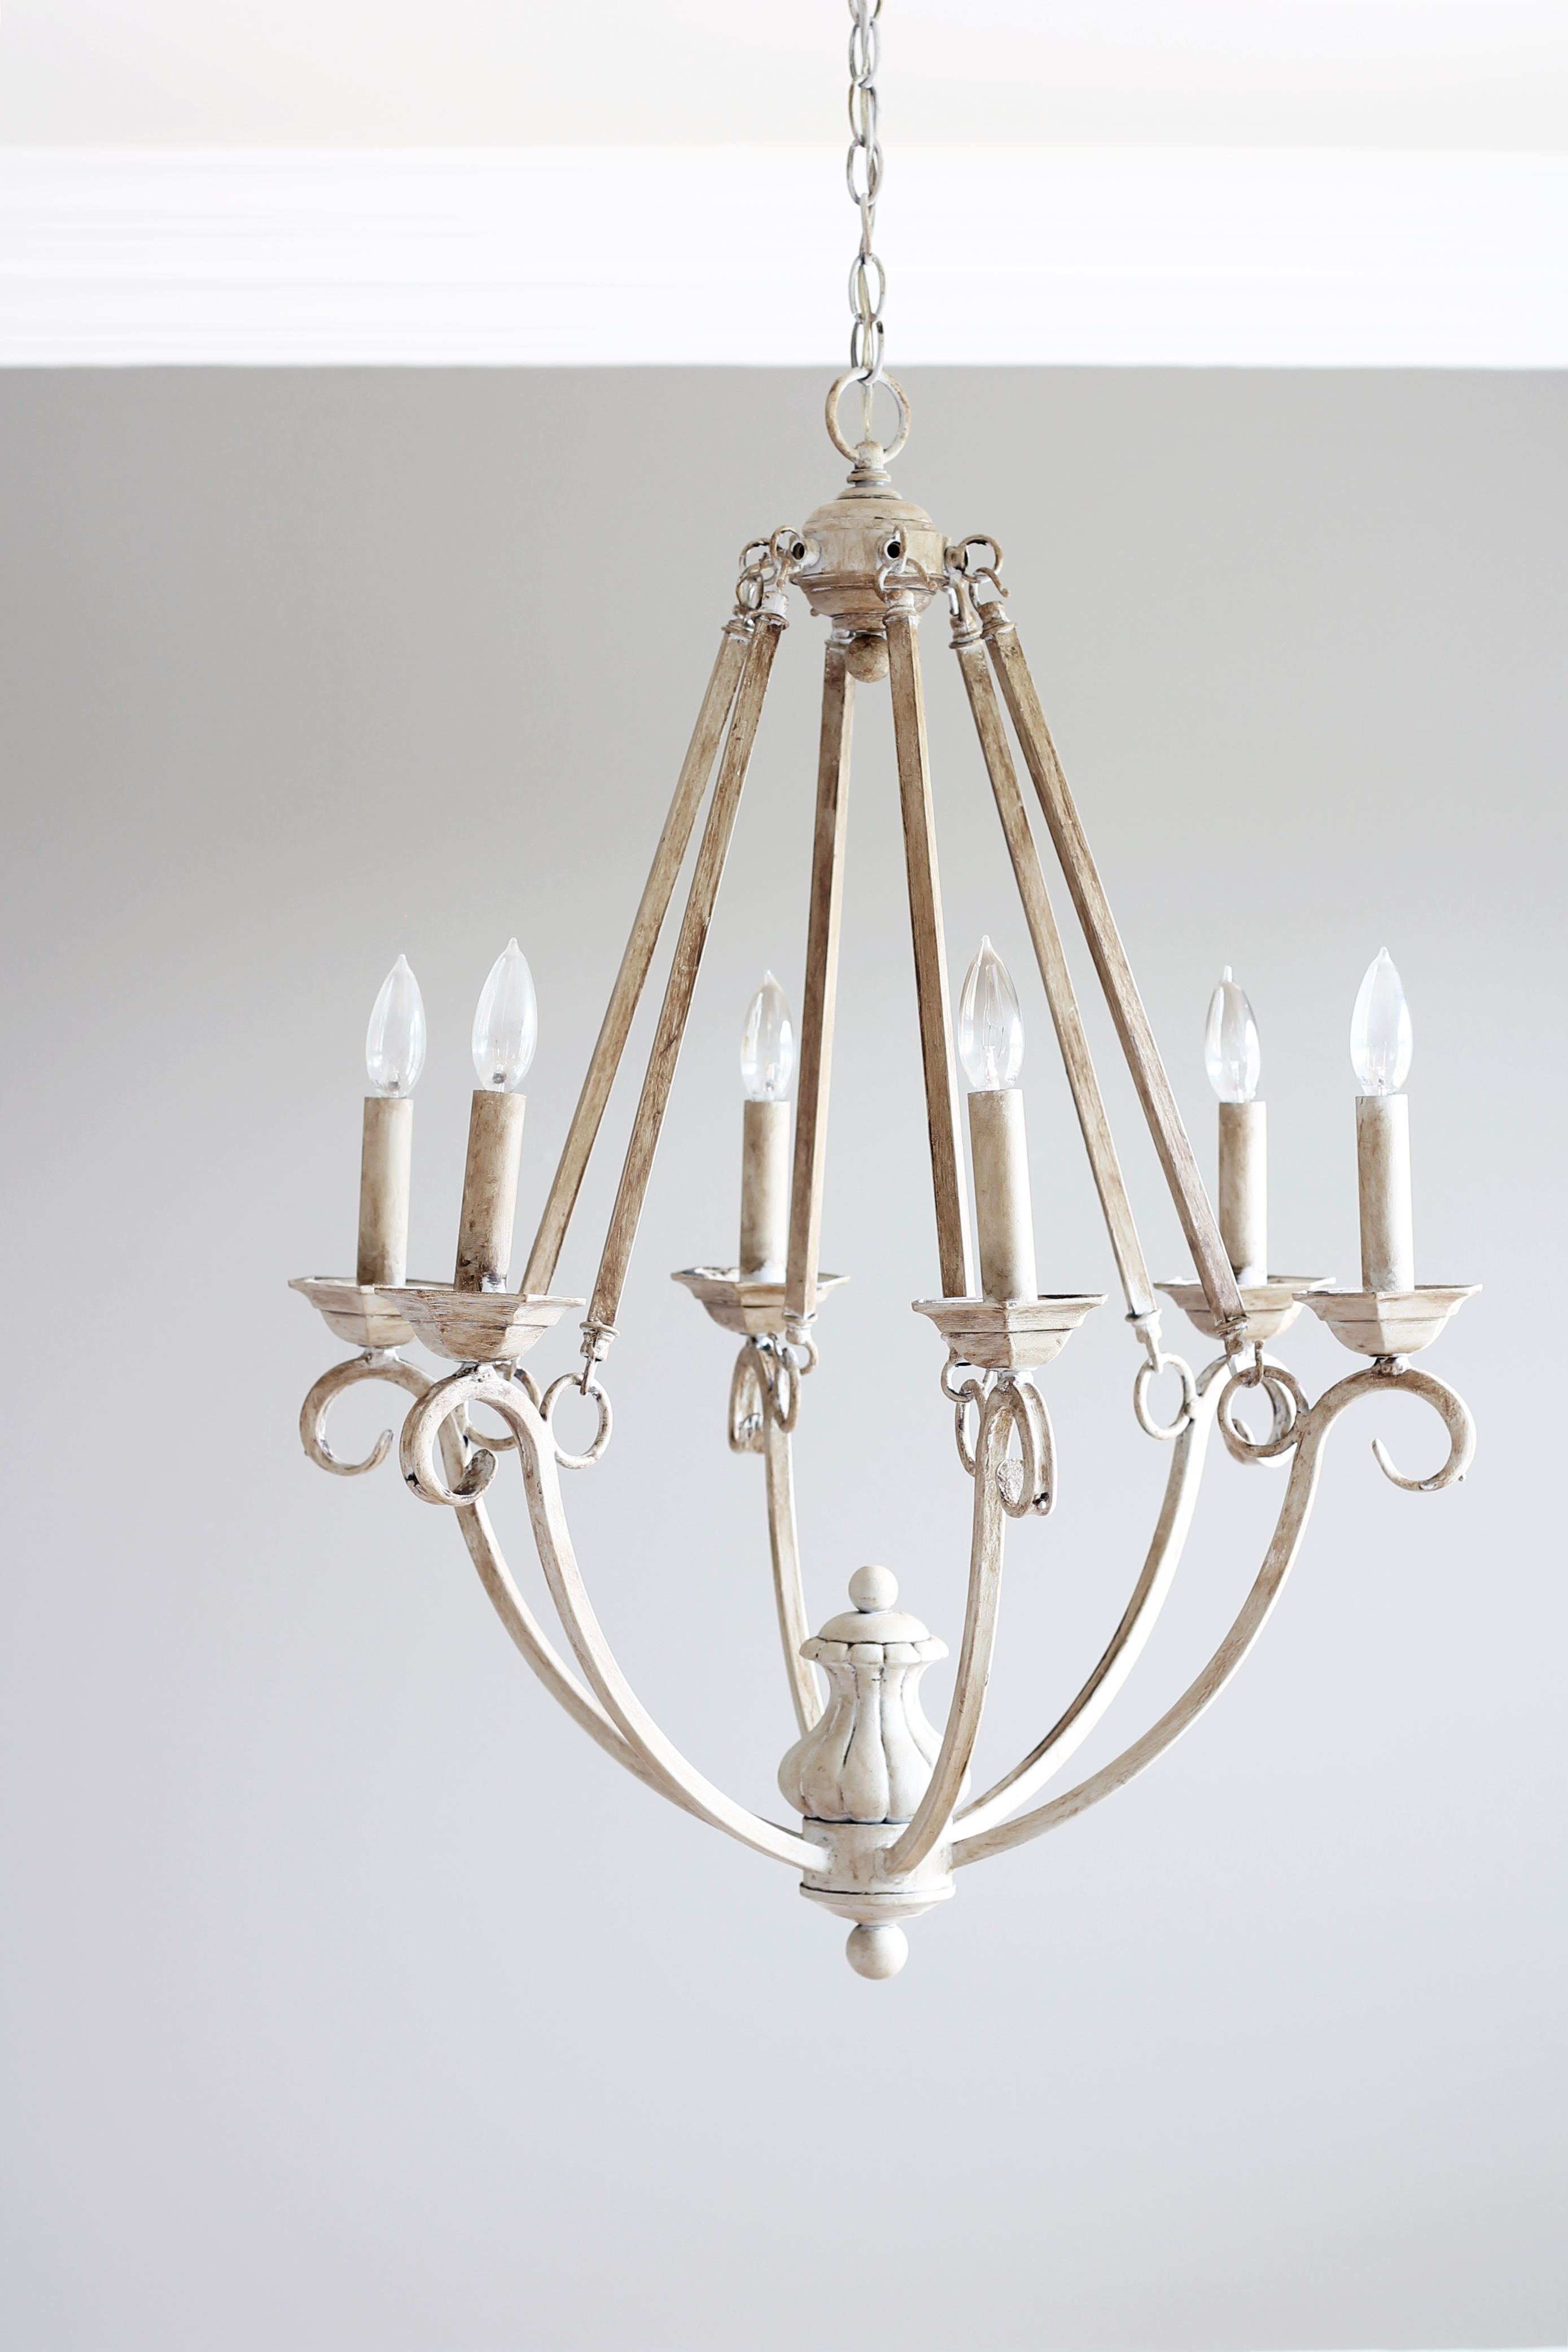
To say I was smitten is an understatement! I was so pleased with the results and it looks very high end for a fraction of the cost. Hopefully you will be able to take this easy DIY chalk paint chandelier makeover and breathe life into your outdated light fixtures!
However, if DIY is not your thing, check out some of these beautiful options:
Looking for More DIY Posts & Guides:
- What to Know Before Making a Shiplap Wall | The Ultimate Guide
- How to Paint Upholstery with Chalk Paint
- DIY Built-ins with Ikea Billy Bookcases
- DIY Quote Sign
- How to Install DIY Shiplap
- How to Use Milk Paint: The Ultimate Guide
- Homemade Bath Bombs
- How to Make a Book Look Vintage


This post contained some affiliate links for your convenience. For more info, please see my full disclosures here.

")


Looks great! I would have never thought to use chalk paint on a chandelier! Definitely pinning for future reference 🙂
Thank you! I was worried it wouldn’t stick very well but it worked out perfect! Now I feel like I will be chalk painting every light in the house! 🙂
I am loving your technique on the chandy! Can’t wait to follow along on the journey.
Thank you! I was surprised how easy it was….hopefully the rest of the room turns out the same!
It turned out absolutely beautiful!
Thank you! 🙂
This is a really great project! Thanks for sharing it!
Thank you! Glad you liked it 🙂
I love it! I’m on the hunt for a chandelier right now because the one I put on my mood board from Target is now gone off from their site! I’m in a pickle. Unfortunately, I don’t have something with good bones to start with.
This is so inspiring though! I’m going to hit up my local consignment shop and see what they have in stock. I have Paris Gray and the wax. Hummmm..
Nancy
You should! Such a great and easy project! I have seen others do it with like $15 dollar thrift store chandeliers they have found. I have also seen some great ones at local flea markets if you have a good one near you! I am going to have to swing over to your sight and make sure I follow the progress!
I really love how your chandelier turned out. You have convinced me that maybe we need to try remaking our chandelier before we buy a new one.
You really should give it a try! It really was pretty easy. It was a little time consuming to make sure I got it covered well but totally worth it! Hope you give it a try! 🙂
Very educating post..
Thank you, Nita!
Thank you for the DIY inspiration. I didn’t know it’s that easy. Now I’m excited to try something new this summer.
Yes, you should! I have always found chalk paint to be fairly easy to work with. If you check out several tutorials before and get the technique down you will have no problem! Hope you give it a try! 🙂
I’m amazed at how well this turned out. I’ve also had great results with Annie Sloan chalk paint. You did a great job on this piece!
Thank you! Yes, I have had some great success with Annie Sloan paint. It’s hard for me to slow down on my chalk paint projects! 🙂
WOW love it! You did an amazing job on this. Looks great!
Thank you so much! 🙂
So glad I found your blog. I was where you are …. 30 years ago! You’re obviously creative, talented, and motivated. I wish you all the best
Thank you so much for those kind words, Wendy! That made my day! 🙂
That chandy looks wonderful! Chalk paint is amazing, I can’t wait to see what else you do in your room. Thank you for sharing with us at Create and Celebrate!
Thank you! I will be sure to share the progress every week with Create and Celebrate….I love it!
You chandelier makeover looks great. Chalk paint is wonderful! This has given me an idea of how to change up the look of my breakfast nook light fixture. Thanks for sharing at Snickerdoodle! Pinning.
Great! So glad it has given you the idea to do the same! It really does change the whole look of the room. Good luck!
What a gorgeous makeover!! We have a chandelier in our bedroom that I’d love to redo and now I feel like it can be done! Good luck this next week!
Thank you! I can definitely be done. This was one of my favorite projects!
[…] Pin It My favorite for the week is this DIY chalk paint chandelier from Holly over at Life on South Point Drive. You have to see the before to fully appreciate this transformation! Follow Nicki on Pinterest […]
Wow! What a transformation! Very creative!
Thank you!
Absolutely gorgeous chandelier. Love the transformation. I will be featuring this tonight at my Swing into Spring party that opens at 8pm EST. Please stop by and pick up an I’ve Been Featured button. Thanks. http://diybydesign.blogspot.com
Thank you for the feature, Judy! I will for sure swing by!!
[…] DIY Chalk Paint Chandelier {One Room Challenge, Week 2} […]
Wow that turned out amazing!
Thank you!
OMG! I love this! What a great idea for anyone to get a high end and very popular look for little dollars. The chandelier turned out beautiful!
Thank you! It really did turn out great…gotta love chalk paint! 🙂
What a fabulous makeover! This gives me an idea. Thanks for sharing for #iDIYedthat.
Thank you, Lindsey! It was such a fun project!
That looks amazing Holly! It looks like you scooped it up from a vintage store and bonus that it was free!!
Thank you, Melissa! Yes, free is always the best!!
This is an amazing tutorial! I love this idea so much and love seeing how you used it for the One Room Challenge. Thanks so much for sharing for I DIYed That – we are featuring you this week!
Aww..thank you so much Jen! It was such a fun project and I’m sooo happy you’re featuring it this week..thank you! 🙂
[…] next feature is from Holly from Life on Southpointe Drive. She shared a beautiful tutorial on how she transformed an ordinary chandelier into something […]
You did such a wonderful job, Holly, and your chandelier is beautiful. Here by way of Sundays at Home! We would love you to join us at Homestyle Gathering, too!
Thank you so much Julie! I will def go by and join you all at Homestyle Gathering! 🙂
So glad you joined us, Holly! Be sure to come by tomorrow! 😉
Thanks Julie! I’m loving stopping by every week!
I have a chandelier this would be perfect for. I will be featurning this tomorrow at my Swing into Spring party that opens at 8pm EST. Please stop by and pick up an I’ve Been Featured button. Thanks. http://diybydesign.blogspot.com
Thank you so much Judy! I will be sure to swing by! Hope you end up giving it a try on your chandelier would love to see it!
[…] is such a beautiful makeover from Life on Southpointe Drive! Be sure to stop by for a visit to see the […]
Chalkpaint is the best for this kind of project!! So well done and you are so right – it looks so high end! Thanks for sharing!!
Thank you so much Cindy! It was such a fun project! Have a great weekend!
Hi Holly!
Kim here from Serving Up Southern! I just wanted to let you know that you are one of my features this week over at Homestyle Gathering. You did a beautiful job with this chandelier makeover. Thanks so much for joining us and sharing your project at HG!
>>> Kim
Thank you so much Kim! That made my day and I always love sharing with you all!! 🙂
[…] DIY Chalk Paint Chandelier project by Holly at Life on Southpointe Drive turned out beautiful. I love how this turned out. […]