If you’re looking for a quick and budget friendly home project that will make an instant impact, painting is it! Painting doesn’t have to seem hard. With these painting tips for beginners, you’ll be painting like a pro in no time. See the full tutorial and tips below!
One of the biggest questions I get asked most often is around painting. People are asking if I have any special painting tips or tricks to get the paint job done faster, etc. Well I don’t have any special magic to get the job done faster, but I found several ways to get the job done quicker, even for beginners. So I have put together these tips and tricks together and created a post on Painting Tips for Beginners. Check out these tips and tricks to paint a room quickly!
This post contains some affiliate links for your convenience. For more info, please see my full disclosures here.
In my opinion painting is one of the easiest DIY projects around, and can really make your home feel completely different. It’s cost effective and can make a huge impact right away. There is also something soothing and therapeutic about painting right…no? Am I the only one?! A good paint job can go a long way, so let’s get started!
Painting Tips for Beginners
Materials Needed:
- Paint
- I choose SW Mindful Gray
- Paint roller
- Paint brushes
- Paint tray
- Roller Handle Extender
- A 2″ or 2 1/2″ angled paint brush
- This Wooster Shorcut is my favorite
- HANDy Paint Pail
- A drop cloth or old sheets
- Frog tape
- DAP DryDex Spackling
- Flathead screwdriver
- for opening up those paint cans
- Tall step ladder
- Ziplock bags or plastic wrap
- to keep your brushes from drying out between coats
- Paint clothes
- you will get messy!
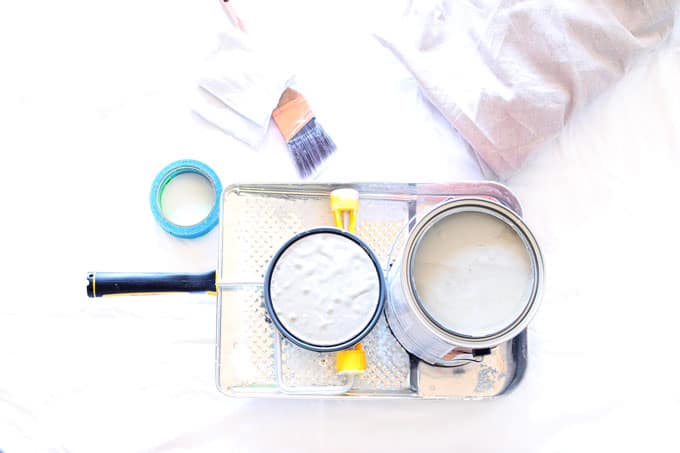
How to Paint a Room Quickly
Step 1: Choose your color
When I first moved into the new house, everything was painted very flat dull brown color. It was a very lovely neutral color, but I am more into the lighter airy colors, so I knew this project was first on my list!
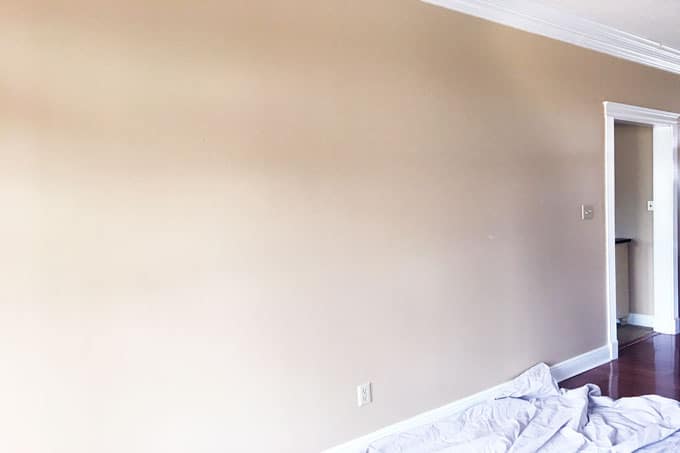
….But I was able to see the potential for this room with just a little paint love. I was going for a very light and airy feel that I felt would also compliment my decor style.
Right when I moved in I painted my dining room a darker gray called Dovetail by Sherwin Williams. I love that color, but for this color I wanted something a little lighter, so I went with Sherwin Williams Mindful Gray.
*Tip: I highly recommend picking up some paint samples. I think they are well worth the $4-$5 investment. Before I paint a room I make sure to paint a large section of each color I am considering on the wall and leave it up for a few days before I make my final decision. Its important to see what it will look like in the day, the night, sunny, cloudy, you get the picture. It’s amazing how different these colors will look at different times of the day.
But the beauty my friends in paint is that if you don’t love it, its usually an inexpensive quick fix.
Step 2: Prep
Before painting I make sure to move all the furniture to the middle of the room and cover it up with plastic covers, drop clothes, or old sheets.
Make sure to remove everything from the walls. For this part I was lucky because I hadn’t hung anything up since moving in because I knew I was going to paint first.
The next step would be to fill in any holes in the wall with nail filler. I had a few holes from the previous owners so for this project I used Dap DryDex Spackling, and had good success with it. After spackling I made sure the wall was smooth where I filled in the holes by going over it with a 3M sanding sponge where I needed to.
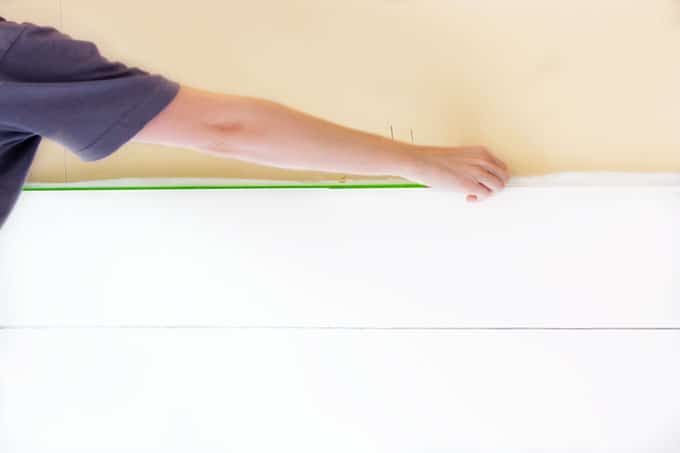
Next comes the fun part (not really), taping off……
I will admit I don’t always tape off everywhere. I always tape off areas I know will be hard to maneuver around even with my Wooster Shortcut {I promise this brush is awesome}!
During this most recent paint project I used two different tapes. I used what I had left of the Scotch Blue Painter’s Tape and then tried out the Frog Tape for the first time. I absolutely LOVED the frog tape. I didn’t expect to see much difference but it was there. Before I could tell that some of the paint would always bleed through the Blue Painter’s Tape, but with the Frog Tape I was amazed that I didn’t have that issue.
Step 3: Open up that paint can!
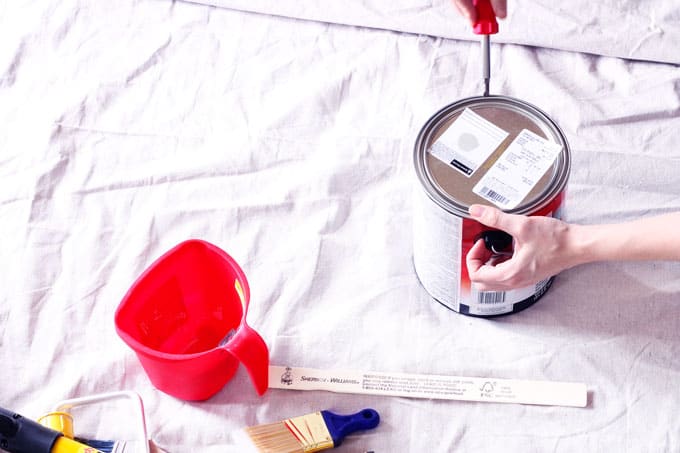
Now time to open up that can of pretty paint….I can’t wait! Remember this is the beginner’s guide to painting, so I am covering all the basics! I have always used a flat head screwdriver for this, usually because I always have one laying around in the garage somewhere. Slowly open up the can and make sure to slowly stir and mix the paint after opening to make sure the color is mixed up good before it goes on your walls. Any paint store, Lowes, or Home Depot give you these stirrer things for free.
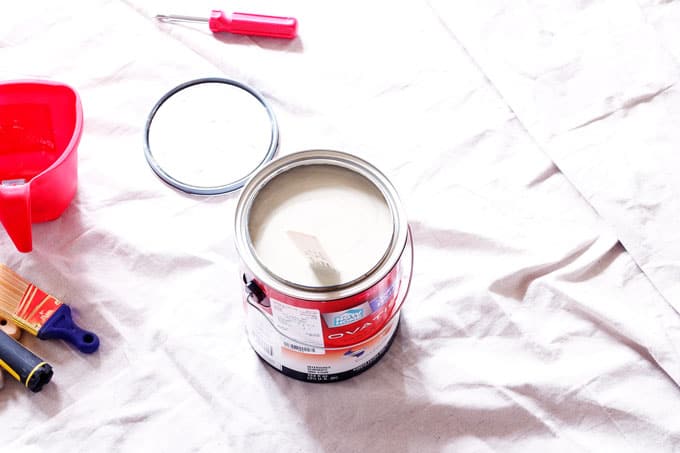
Step 4: Edging
This is the step that since I have started using the Wooster Angled Paint Brush saves me a lot of time. Something about how this brush is designed, and I don’t know how it works, but it is pure magic. Cutting in can take practice, but this brush helps not make it so scary!
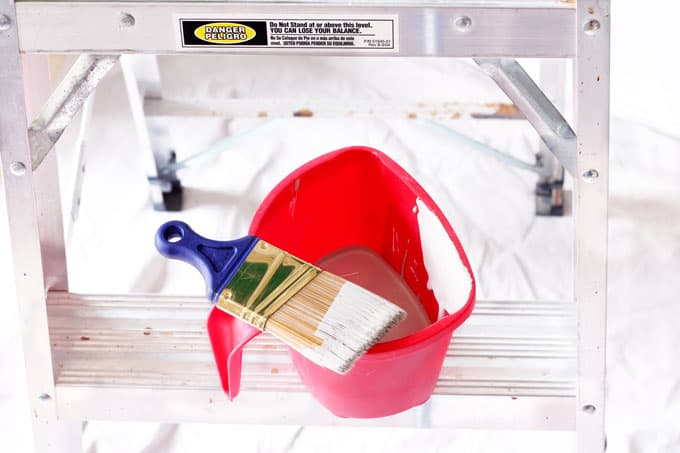
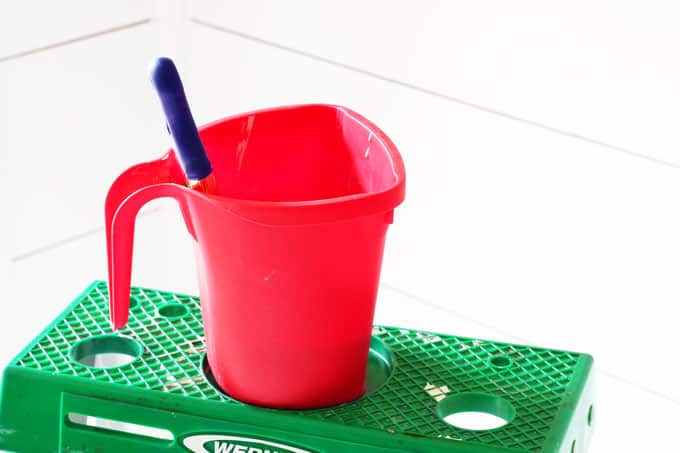
Use your little HANDy paint pail {just look how that brush clips to the pail}, and get to cutting in!
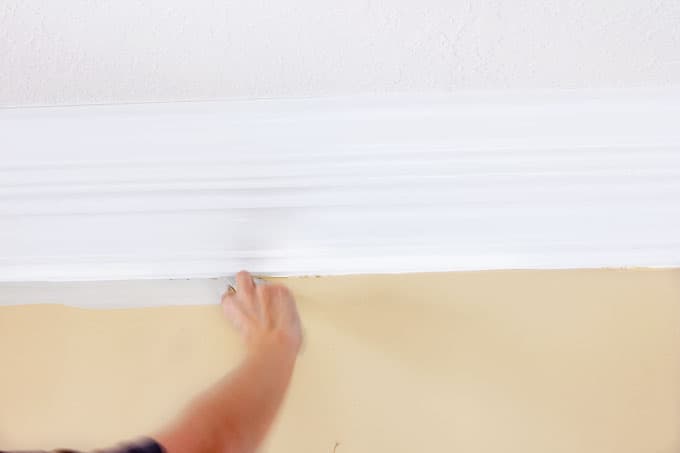
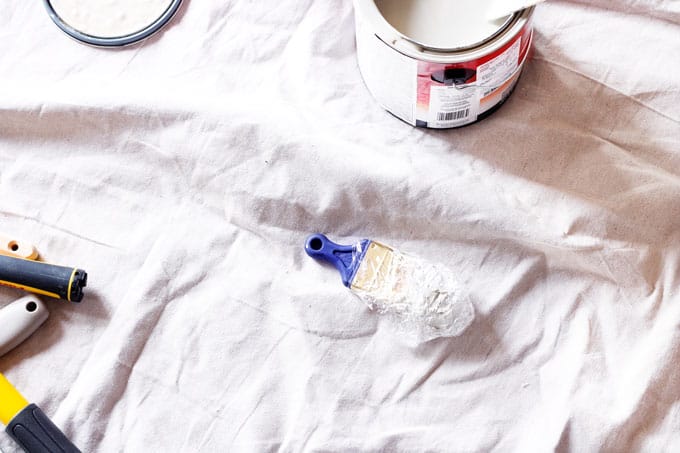
*A little tip: Wrap up your brushes between coats
I was so happy when I learned this little trick from a friend. This keeps me from having to clean my brushes/rollers between coats to get off the dried paint. You can use a ziplock bag, but I always use clear plastic wrap. Either will work.
Step 5: Roll it on!
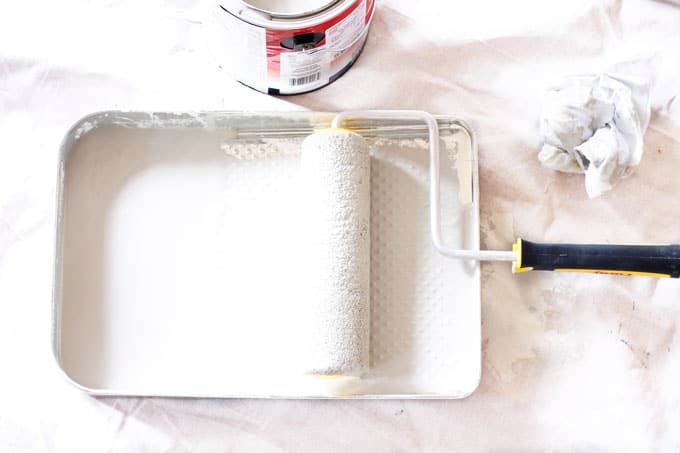
This is the fun part I promise! Make sure that all sides of the roller brush are covered with paint and then roll it back and forth a bit on the pan to get off the extra. This will ensure you get even strokes when rolling your paint.
I always make sure to roll it on in a W pattern, and make sure to then paint horizontally filling in the spaces of the W until you have that one section of wall covered and smooth.
After your first coat is dry you will then repeat with a second coat. Make sure to remove your tape before your second coat dries completely. If you remove it when it is dry you run the risk of pulling off the paint on the walls that is attached to the tape (learned this the hard way!).
You’re done! Yay, you’ve mastered your first small home project and made a huge impact on your space!
Crank up some music, throw open the windows, get to rolling, and see how this one small home project makes a huge impact in your home!
This post contained some affiliate links for your convenience. For more info, please see my full disclosures here.




Great tips but you left off my favorite. Since we’ve lived in this house for 28 years and painted a gazillion times over because 4 daughters change their minds regularly, I tend to threaten to hire someone which leads to the husband getting the job done. Easy peasy! LOL
Haha! Yes, I should have thought of that one. That is the only tip people need! Sounds like you have such a handy husband!Thanks for checking out the post!
Holly you totally rocked your first post! We used dovetail paired with repose gray in our office makeover and I absolutely love it! We decided on repose gray for our main paint color in most of the house.
Girl thanks! You are totally rockin it over there yourself! I can’t wait to see how your bedroom turns out!
Great tips. Love the red paint cup. So much easier then using the some paint put on the paint can lid for small hard to reach areas. Have to get to painting my main traffic areas this summer. You are right the bigger projects are pretty daunting but I find painting to be meditative. (If my kids are not in the room. )
Thank you Melissa! Glad I’m not the only one that finds it meditative! And yes, everything seems a little harder when kids are in the room! 🙂
[…] The Beginner’s Guide to Painting by Life on Southpointe Drive […]