


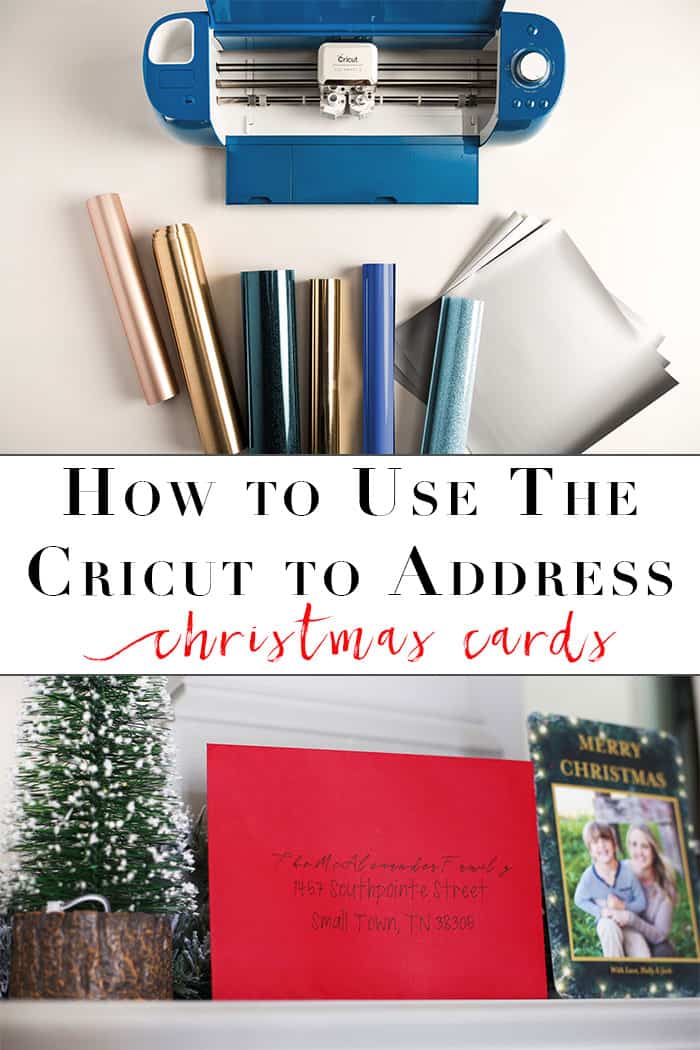
Use the Cricut Cobalt Explore Air 2 to beautifully and quickly address your Christmas cards! Using the pen feature you can have your Cricut hand letter your cards for you.
One of the things I can’t wait to do each year is order my Christmas cards. Looking through all of the beautiful designs, seasonal fonts, and finding the perfect photo! After they come in and it gets closer to time to send them out, that is when I admit that I wait till the last minute. The thought of having to address all of them just makes me procrastinate.
This year when I was approached by Cricut to help them spread the word about their new beautiful (you will see why I say beautiful in a min) Cricut Cobalt Explore Air 2 that is only available exclusively at JOANN, I thought I would give the pen feature a chance to address those envelopes! And let me say it did it way prettier than I ever could! Let’s check out the new Cobalt Explore Air 2 and see what it can do!
This post contains some affiliate links for your convenience. For more info, please see my full disclosures here.
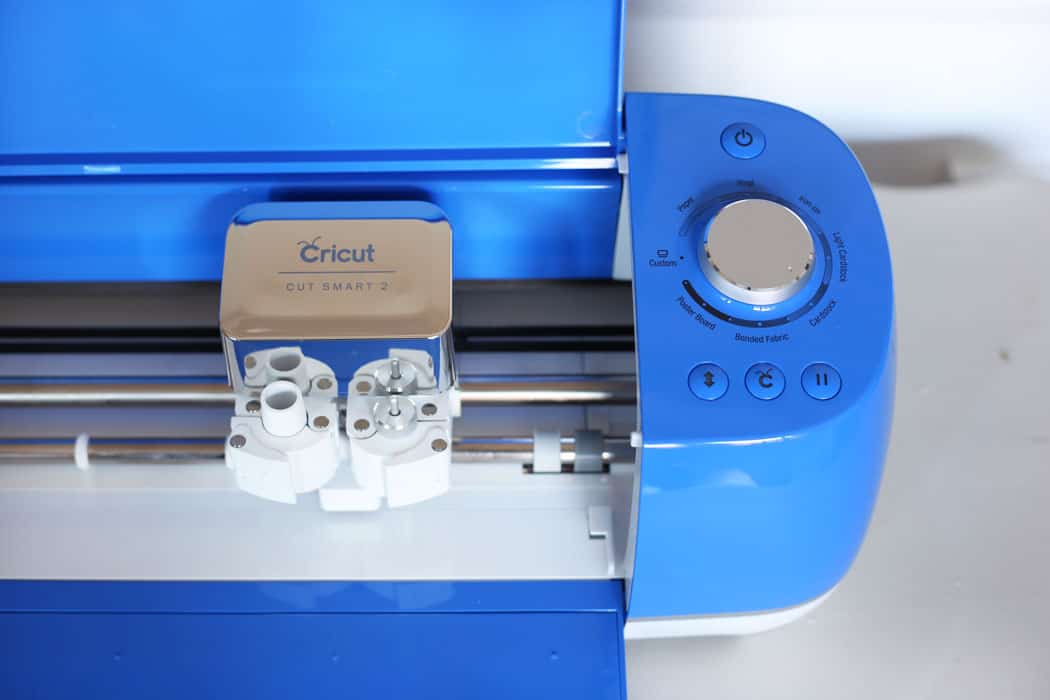
Before we get into how to use your Circut to address your Christmas envelopes, let’s check out the new Cricut Cobalt Explore Air 2 and some of it’s fun features! First let’s talk about how beautiful this blue color is. It is so pretty and functional inside and out. I love the little holder for your Cricut supplies on the top and the fun little open button that makes your Explore Air 2 open like magic ;-).
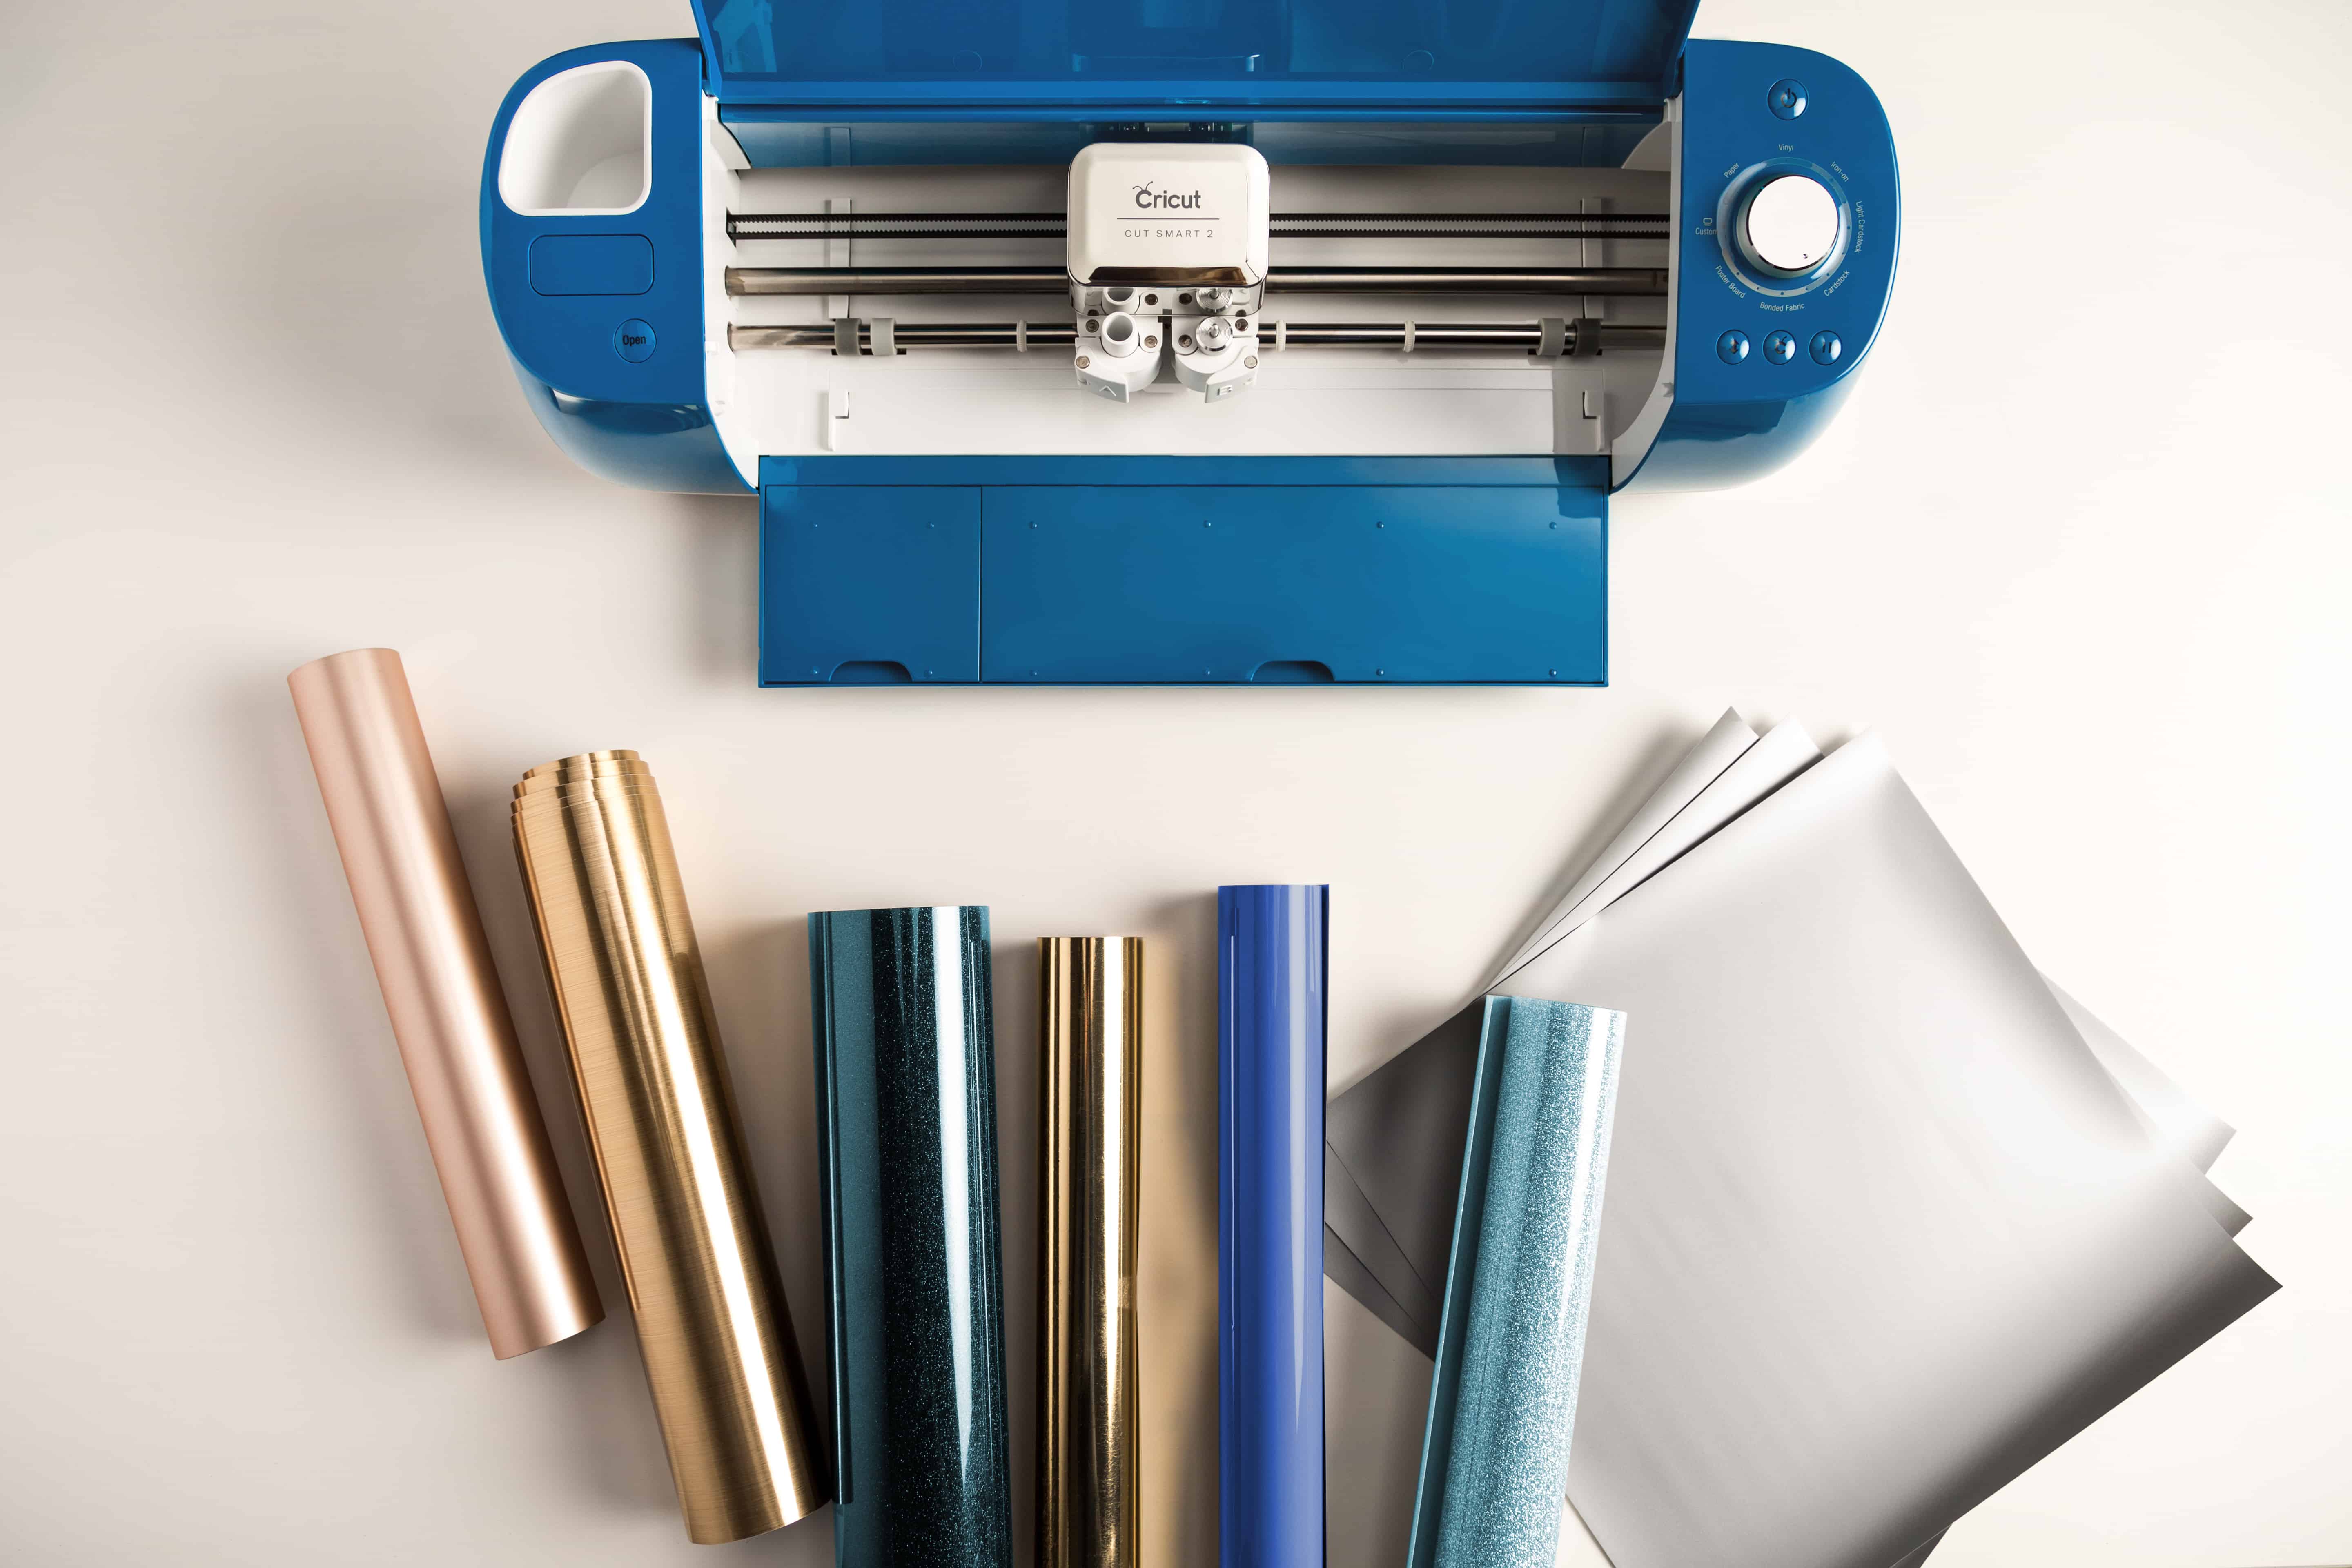
Let’s check out some of the key features of the Explore Air 2, Cobalt:
- Available exclusively at JOANN
- Cut and write up at the same time up to 2X faster than previous Cricut Explore® models with this DIY speed machine.
- The Cricut Explore Air™ 2 cuts over 100 materials — everything from cardstock, vinyl and iron-on to specialty materials like glitter paper, cork, and bonded fabric. Quickly. Beautifully.
- From cards to custom T-shirts to home decor, Cricut® makes it easy to realize your creative vision.
- Design on the go on your laptop, iPad or iPhone. Browse and play with thousands of images, fonts, and ready-to-make projects. Or create your own design from scratch.
- Upload and cut out your own artwork absolutely free. Upload files, and turn your masterpieces into home décor, cards, gifts, fashion, and more
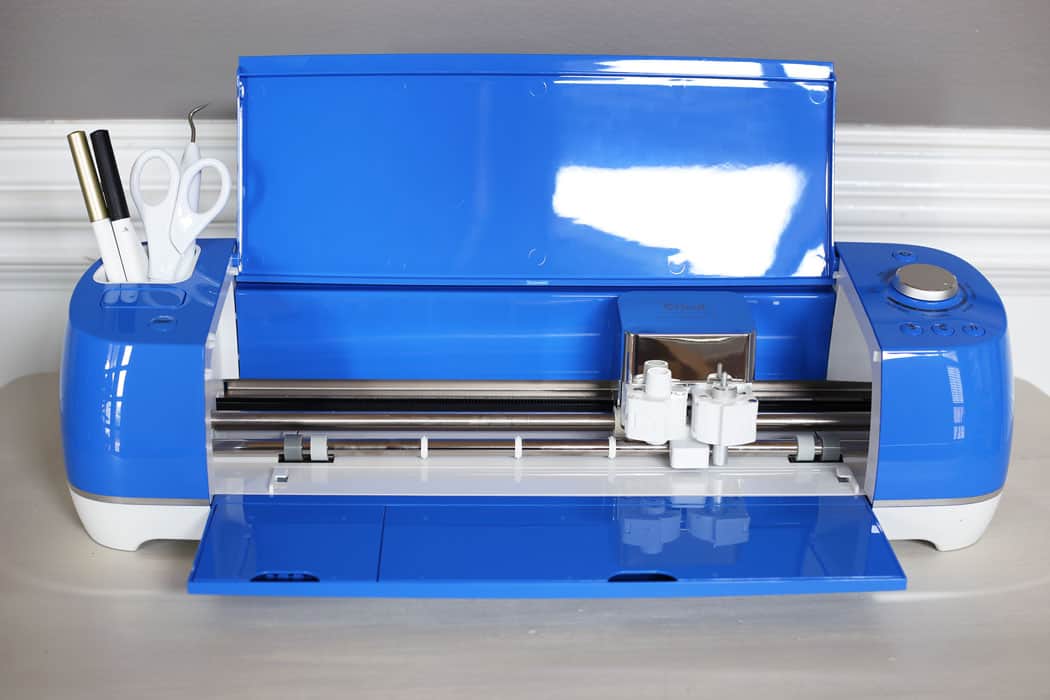
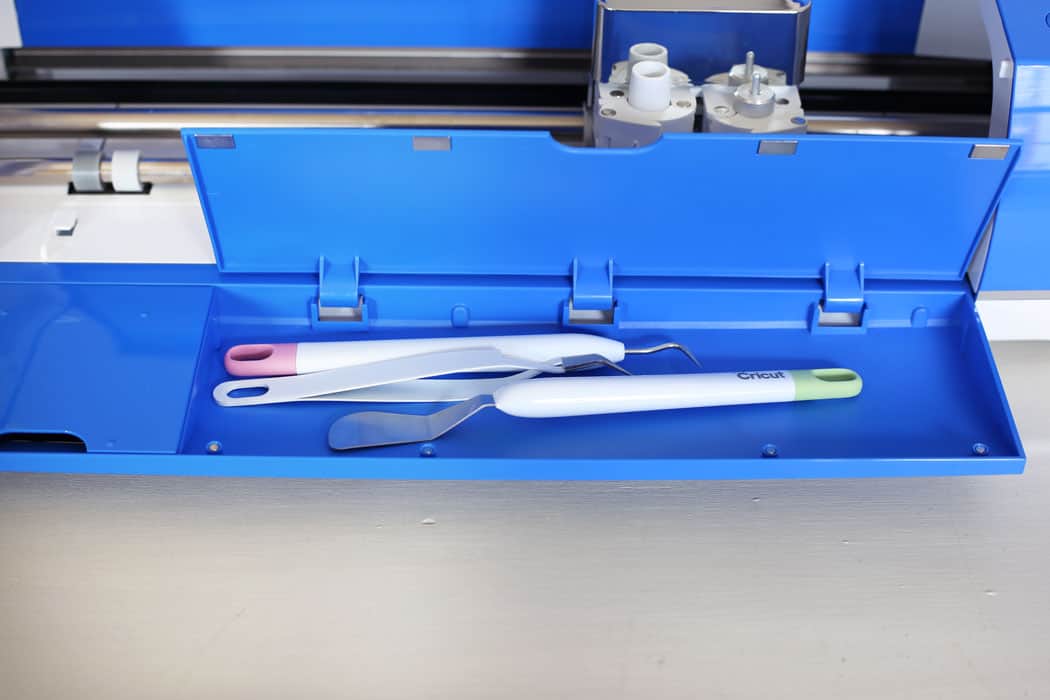
There are so many other fun features like this little handy supply holder built into the inside of the front.
The Cobalt Explore Air 2 also has the awesome cut smart 2 technology that makes it easier and faster than ever to cut all your materials and create beautiful projects!
Now let’s find out how to use this new technology to address our Christmas envelopes with the Cricut Cobalt Air 2!
How to Address Christmas Cards with the Cricut Cobalt Explore Air 2:
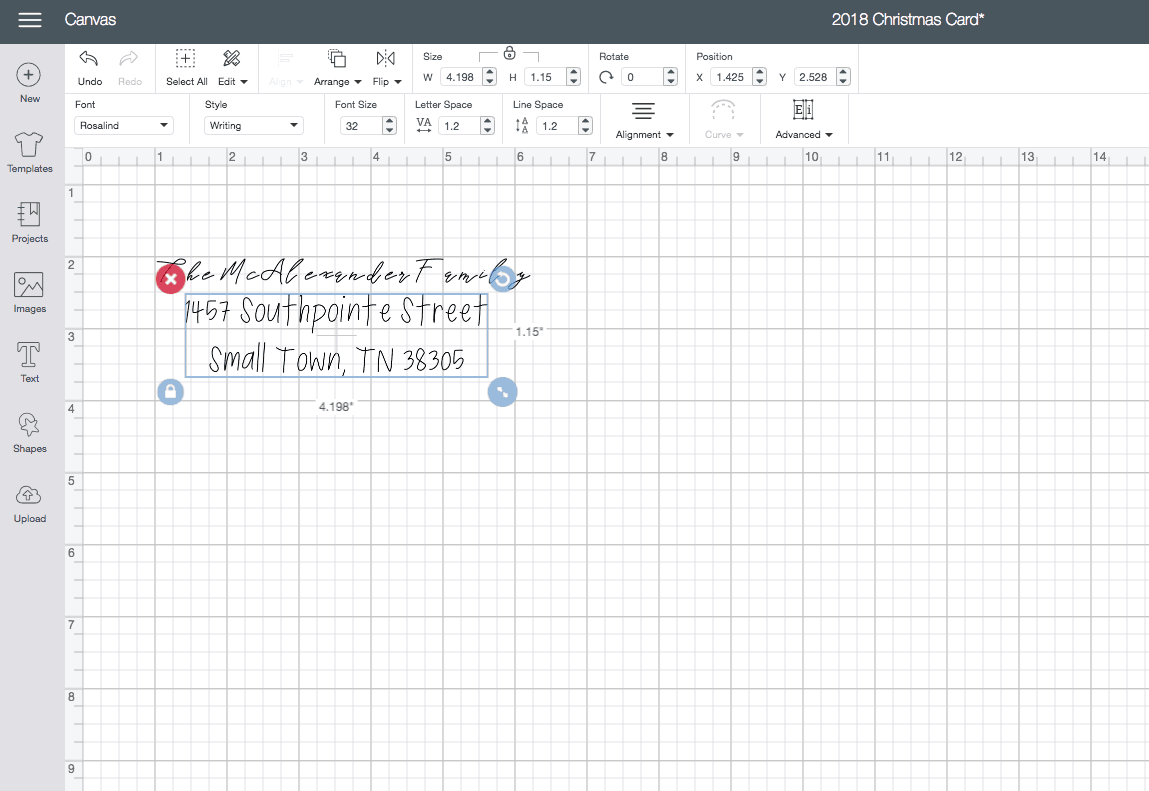
1) Create your design in Cricut Design Space – after you open up the Cricut Design Space you will add 2 text boxes. One will be a fancier font for the family name, and the other will be a simpler font for the address. I didn’t choose to put the return address on the front of my envelopes since I use a stamp on the back of the envelopes for my return address. You could easily add this just by adding another text box.
Since my envelopes are 5×7 I played around with the size and position until I got it as centered as possible on the envelope. One very important thing to remember when selecting your fonts, make sure to filter the font options by the ones that have “writing” as the style. These are the fonts that the Cricut machine can write easily and neatly.
2) Attach Your Layers – once you have everything the way you like it, you will want to make sure that you “attach” everything together so it will transfer correctly to the final design. You can do this by selecting all the text boxes at once in the right hand menu and clicking attach at the bottom. After you have finished this step, you should have just one big text box around all of your text.

3) Create – You will then click go and you will be brought to the layout screen. Here you will need to move around your address to fix the alignment if it is off. I went ahead and made adjustments to mine to bring it back to the center.

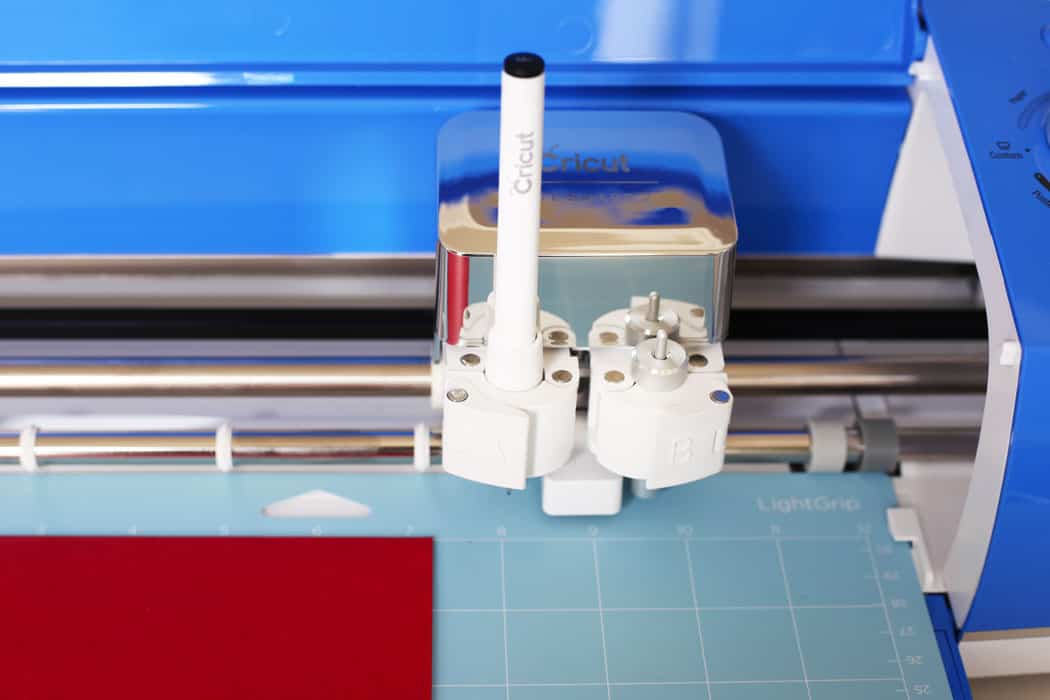
4) Attach the pen – Put your pen in the auxiliary holder by holding the bottom of the auxiliary while pushing down until you hear the click. Then close the latch to lock it into place. I used the fine .03 black tip pen for my envelopes and was really pleased with how they turned out. Lastly, place your envelope in the upper left corner of the cutting mat, load the mat, and click GO!
Then you have beautifully addressed holiday cards! You could of course always use this trick for wedding invitations, birthday cards, and party invitations!
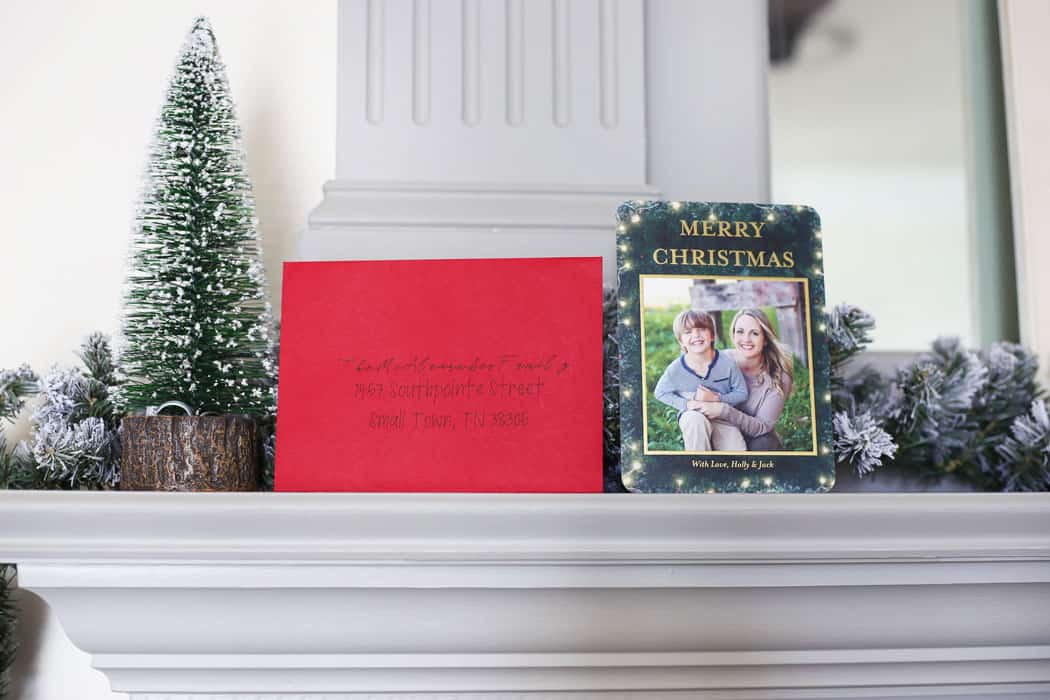

What a win and a time saver for the holidays! Plus they are way fancier than I could ever write them 😉 What do you think of this little Cricut trick and the new Cricut Cobalt Explore Air 2?!
This is a sponsored conversation written by me on behalf of JOANN & Cricut. The opinions and text are all mine.

This post contained some affiliate links for your convenience. For more info, please see my full disclosures here.

")


