


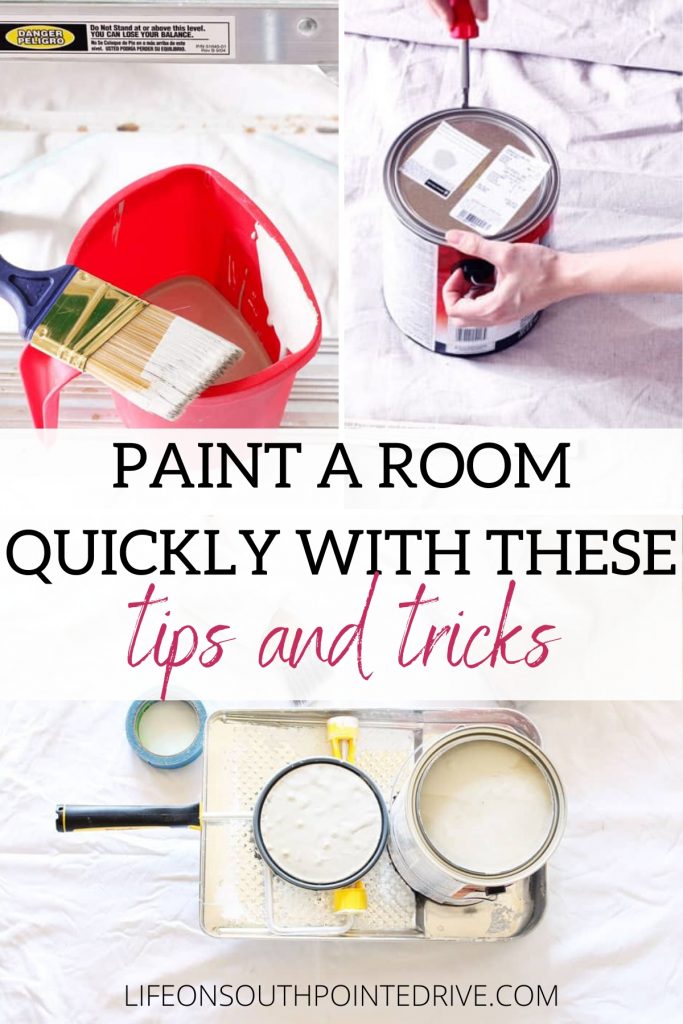
Painting can go a long way to brighten up and transform your home. Get my Painting Tips and top 10 favorite tools to get you painting like a pro in no time!
If you’ve been around my blog for any time, you’ll know that I love painting! Ok, it’s not like my most favorite thing in the world, but there is something about it that I find peaceful (most of the time!). What I love most about painting is that it can quickly transform your home with very minimal investment on your part. But I do know that painting is something that a lot of people dread and think is going to take forever to complete, but with the right tools and techniques you could complete a room in no time! After my Beginner’s Guide to Painting post a few people asked me what tools I recommended so I thought I would share with you some of my tips and tools for the DIY painter!
How to Paint a Room Quickly
Ok, let’s start with the tools. There are so many painting tools out there so I know it’s hard to know where to start. The tools I am going to share with you are ones I feel will get any DIY painter up and going and fully prepared for your next paint job. These are all tools that I think are necessary or make the job a lot easier. I am by no means a professional painter here, so all of these recommendations are based on my experience! 😉
This post contains affiliate links. For more information, see my full disclosures here.
The Best Painting Tools
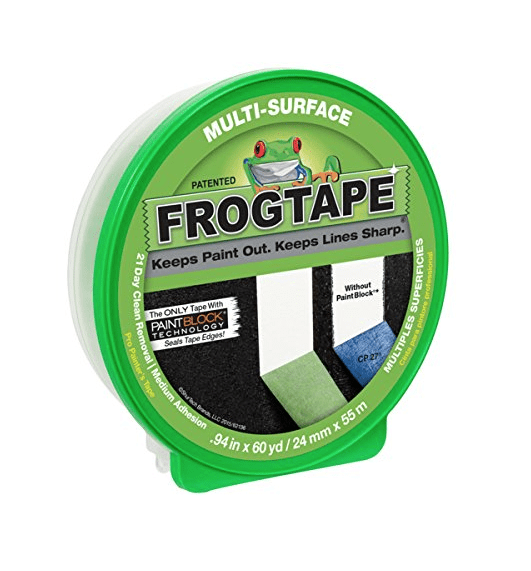
1) Frog Tape – I couldn’t complete any paint job without this stuff! I have used several painters tapes out there and Frog Tape still by far is the best I’ve used. There is no bleeding and it comes off so easy. I will usually tape off my baseboards, around any outlets, or around cabinets before painting. I don’t tape off my ceilings, but we will talk more about that in a minute.
2) Spackling – If you have places in your walls or your painting surface that have left holes or have cracks in them you will want to fix it before you paint with a little Spackling. I use this to fill in nail holes and it works like a charm and drys white (don’t worry when you get it out and it looks purple)!

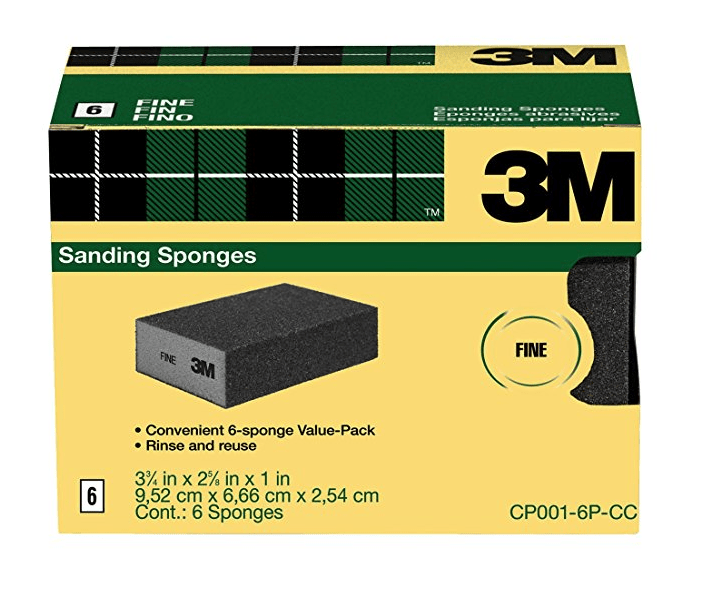
3) 3M Sanding Sponge – once you have filled in your nail holes you’ll want to make sure to sand down any rough areas or uneven areas with a sanding sponge. This will make for a smoother finish to your paint job. I usually get the fine grit sponges and they work great and aren’t too rough.
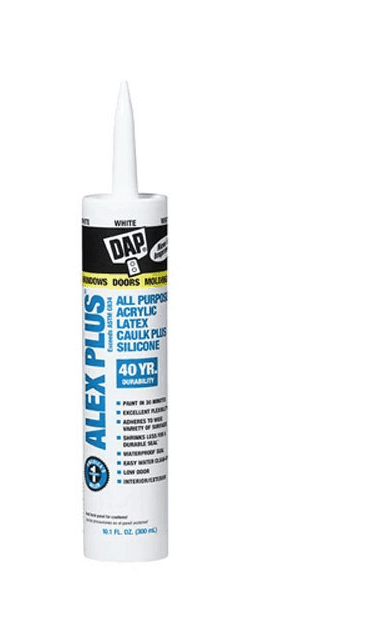
4) Paintable Caulk – When painting walls I always make sure to take a good look at my trim and baseboards and see if there are any cracks I need to caulk before I get started. You can check out my post on How to Paint Baseboards Like a Pro if you want more tips on caulking and painting baseboards.
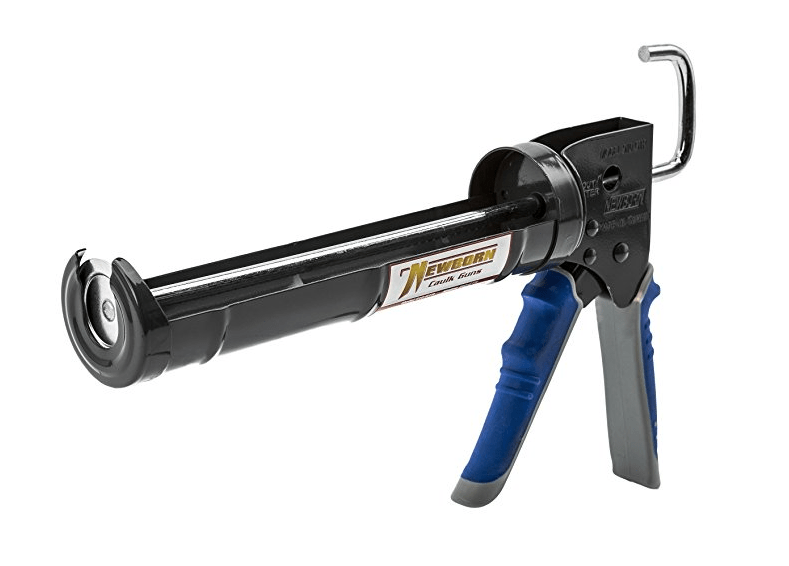
5) Caulk Gun – I always recommend getting a caulk gun. They are inexpensive and your hands will thank you later!
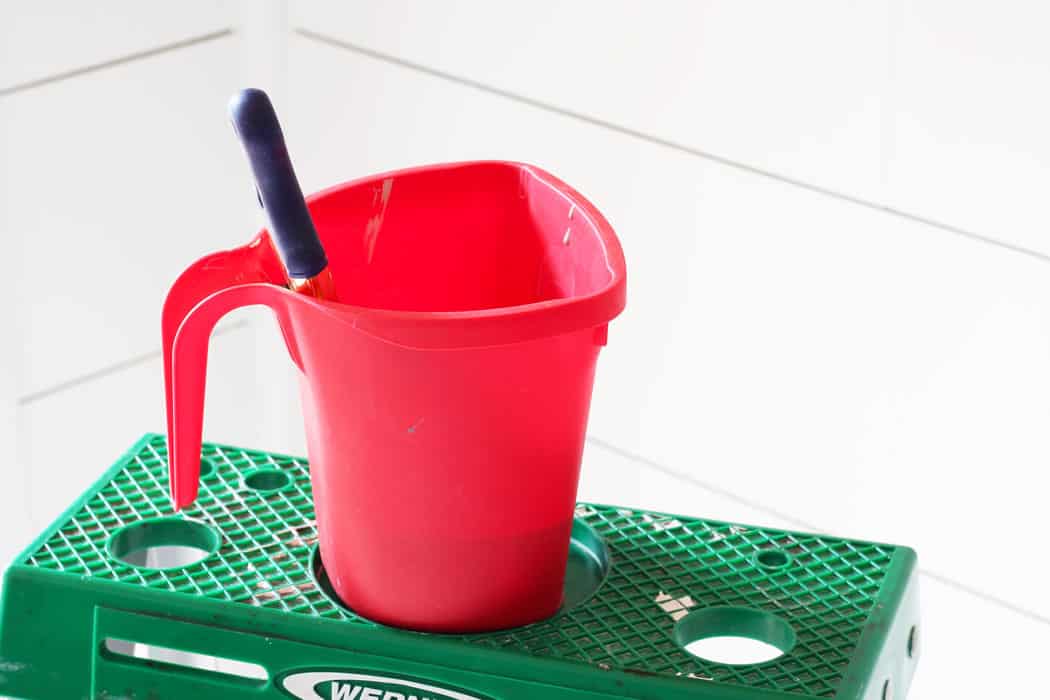
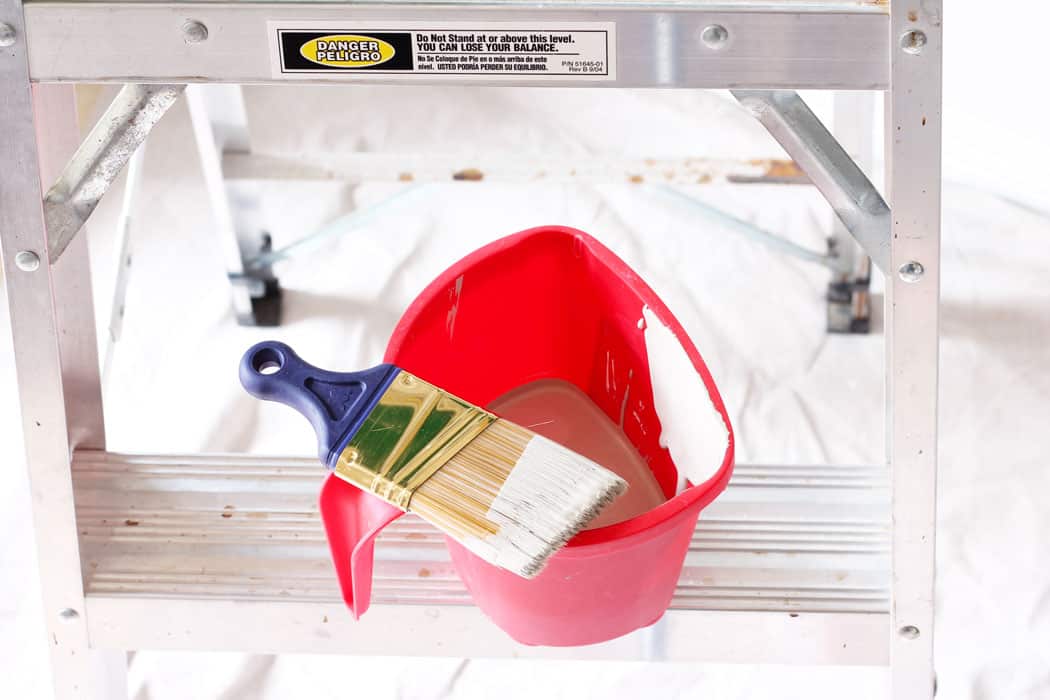
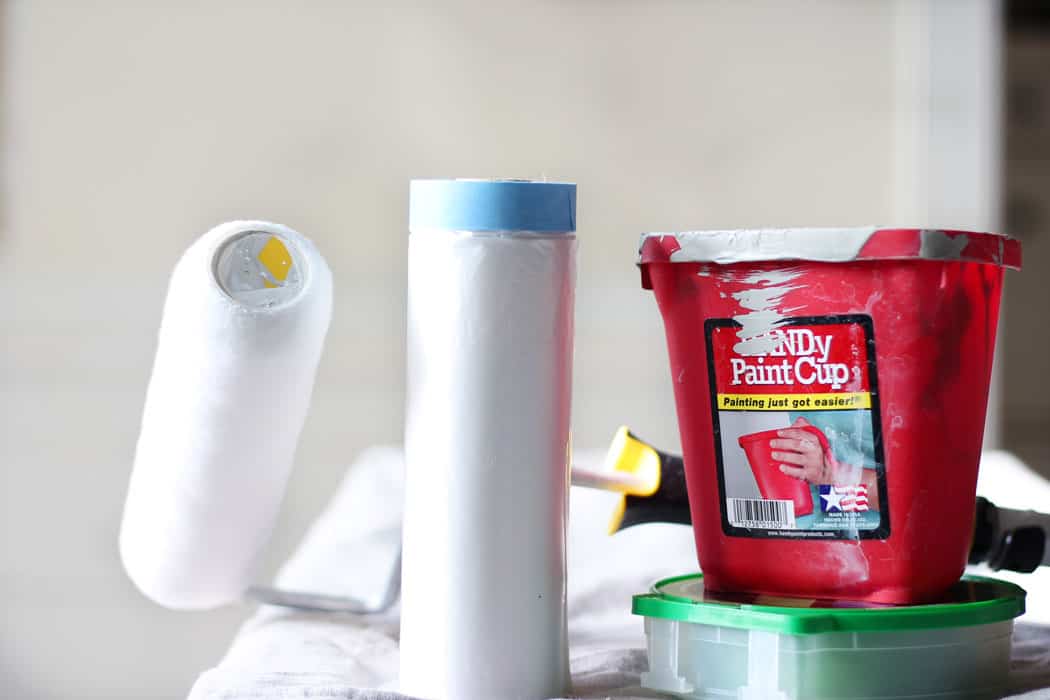
7) Handy Paint Pail – This is probably one of the best painting investments. They are inexpensive and this paint pail has been a life saver when I am up on the ladder or painting trim. It has a little magnet that will hold your brush for you, because who can hold their brush, their paint, and hold onto a ladder at the same time?!
8) Wooster Shortcut Brush – Well I said the Handy Paint Pail was my best investment, but I was wrong. This Wooster Shortcut brush takes the win. This is the reason I don’t have to tape off my ceilings when I am painting walls. The angle of this brush helps you get right up to the trim for a perfect line without getting it all over your trim or ceiling. Life Saver!!
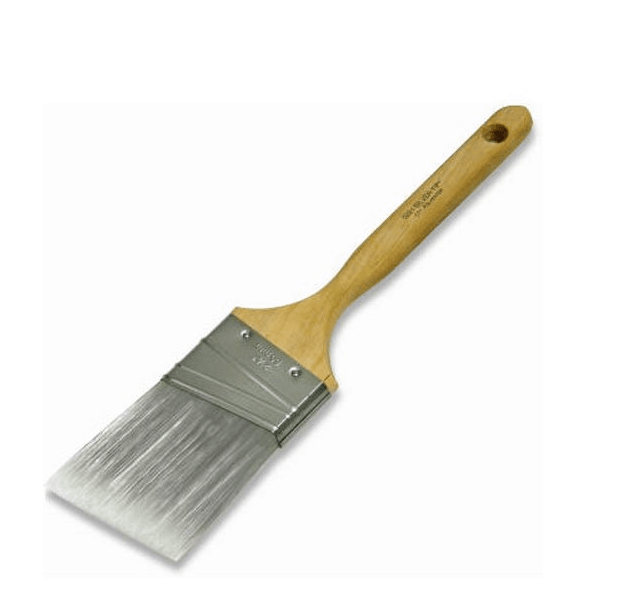
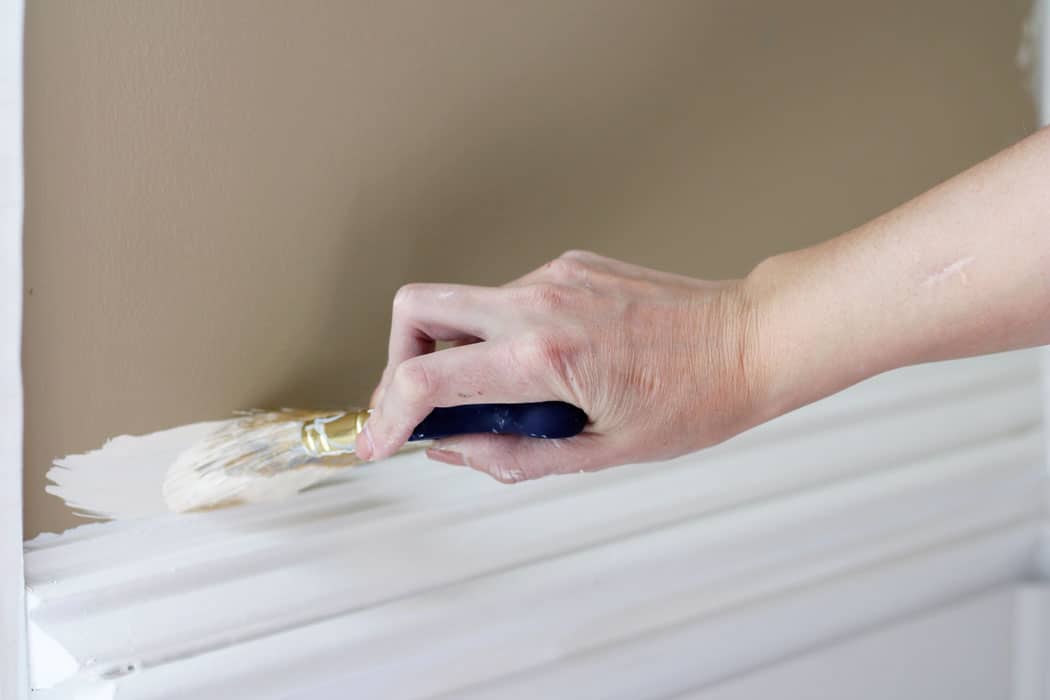
9) 2inch Angled Brush – This brush is also always in my tool box. My go-to is my shortcut, but if I am painting something other than a wall, I will use this one.
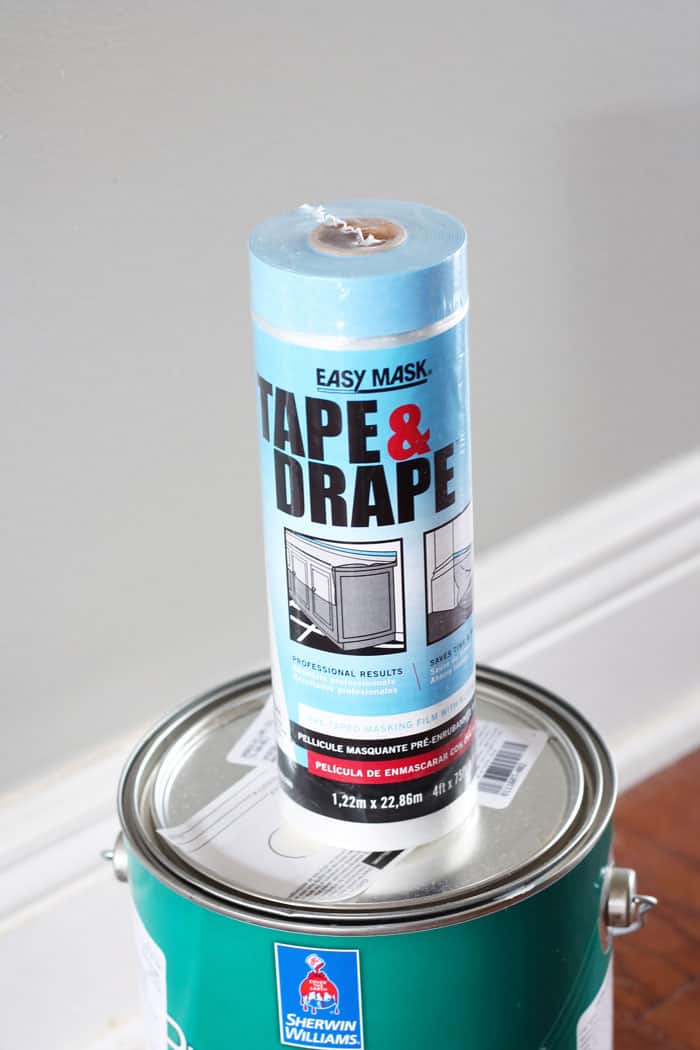
10) Tape and Drape – Lastly, but certainly not least we have Tape & Drape. This has saved me on numerous occasions! Most recently when I spilled a whole gallon of paint in my kitchen floor I was lucky that Tape & Drape was down and saved the day!
So we have talked about my 10 favorite tools for the DIY painter, now lets talk about a few handy tips. Like I said before I am not a professional here, but I have learned from my own mistakes and have found some great little tips along the way, so why not share them?!

Painting Tips
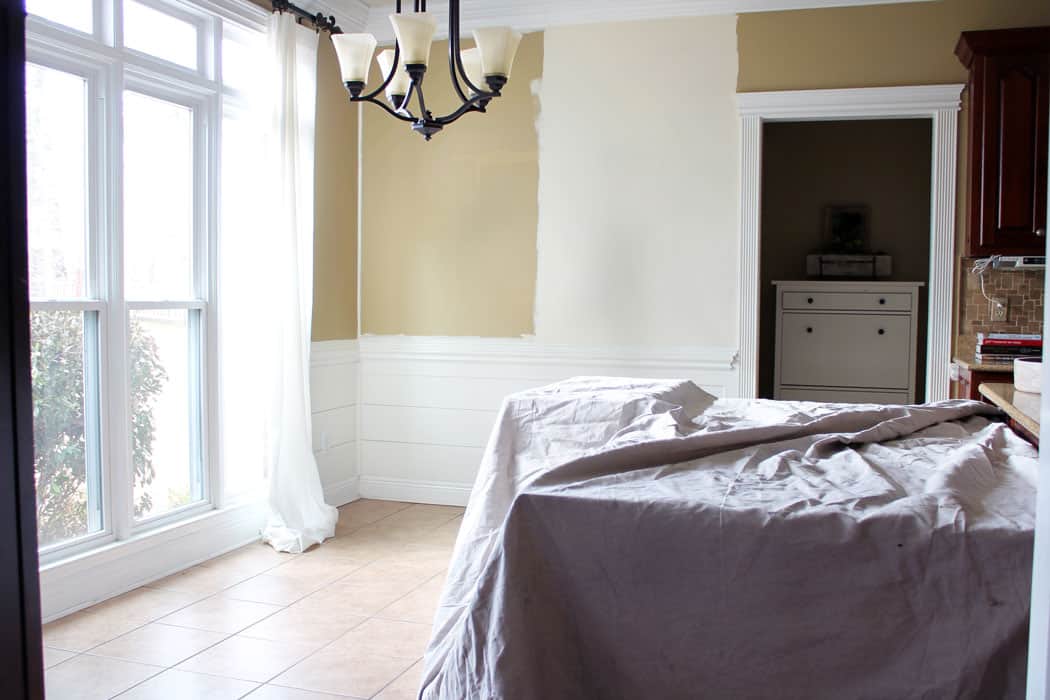
Tip 1: Cover your belongings – this may sound obvious, but some people think they can just paint around their furniture. Don’t take that chance. I thought I could do that once and ended up getting paint all over my floor and couch not realizing it was flying everywhere. Somehow paint can end up in places you didn’t think it could! I usually just move the furniture to the middle of the room and cover it with a drop cloth. I will either cover my floor with only Tape & Drape or use a combination of Tape & Drape and some extra drop cloths depending on the size of the room.
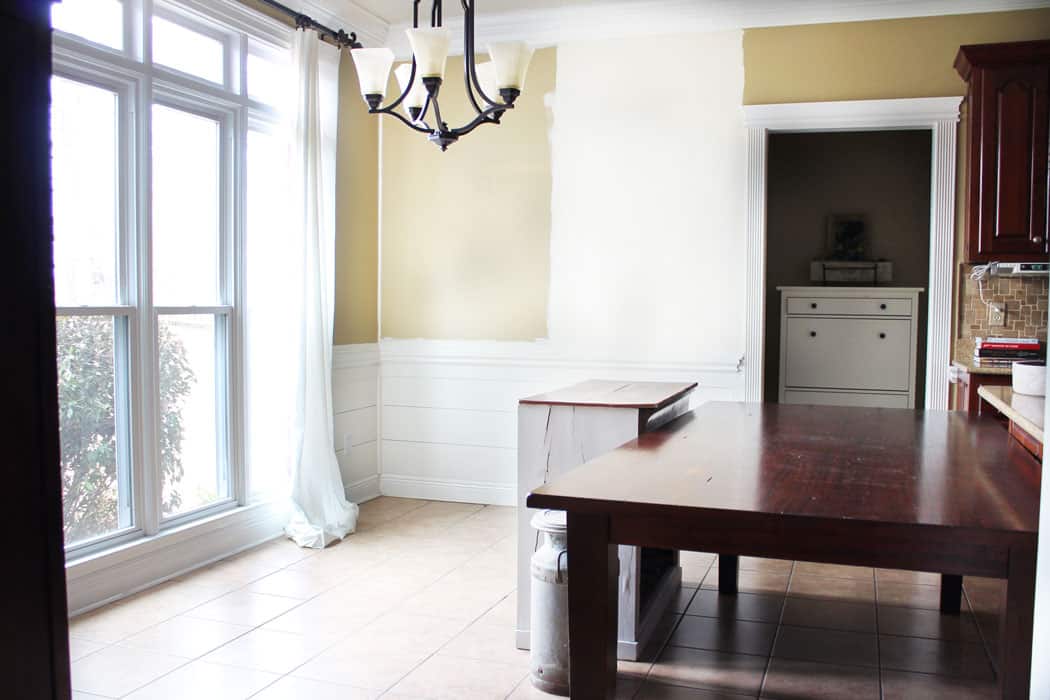
Do you love how that color test spot on the wall has been there for months?! 😉
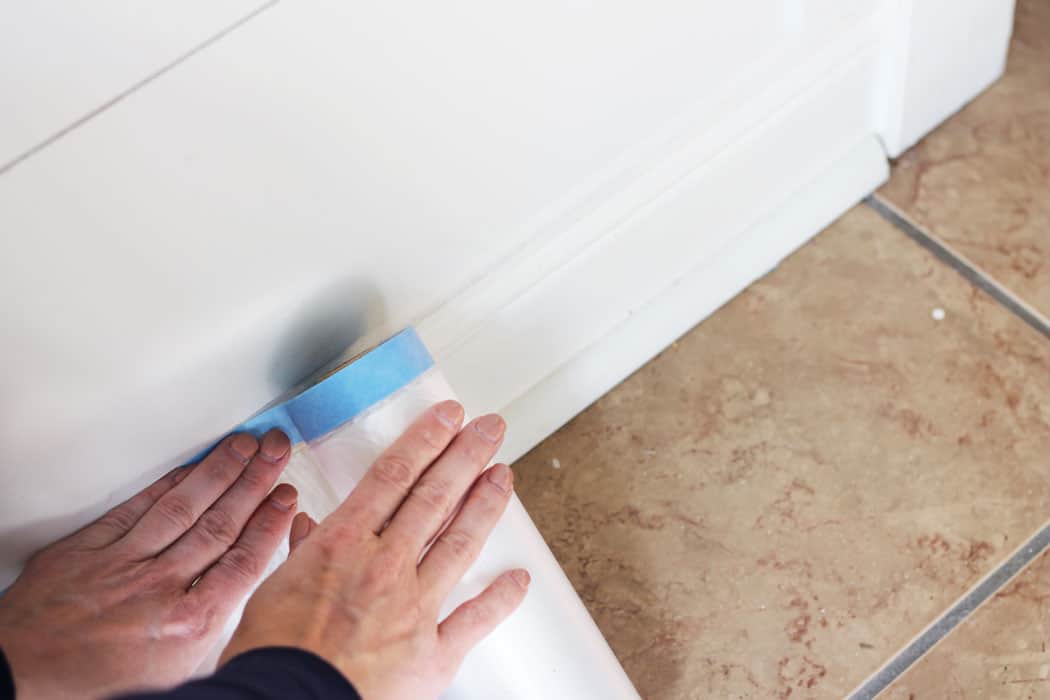
Tip 2: Tape off your baseboards and trim – for the baseboards I will use Tape & Drape because it is so easy and covers the floor at the same time. For the chair railings or other trim I will use Frog Tape.
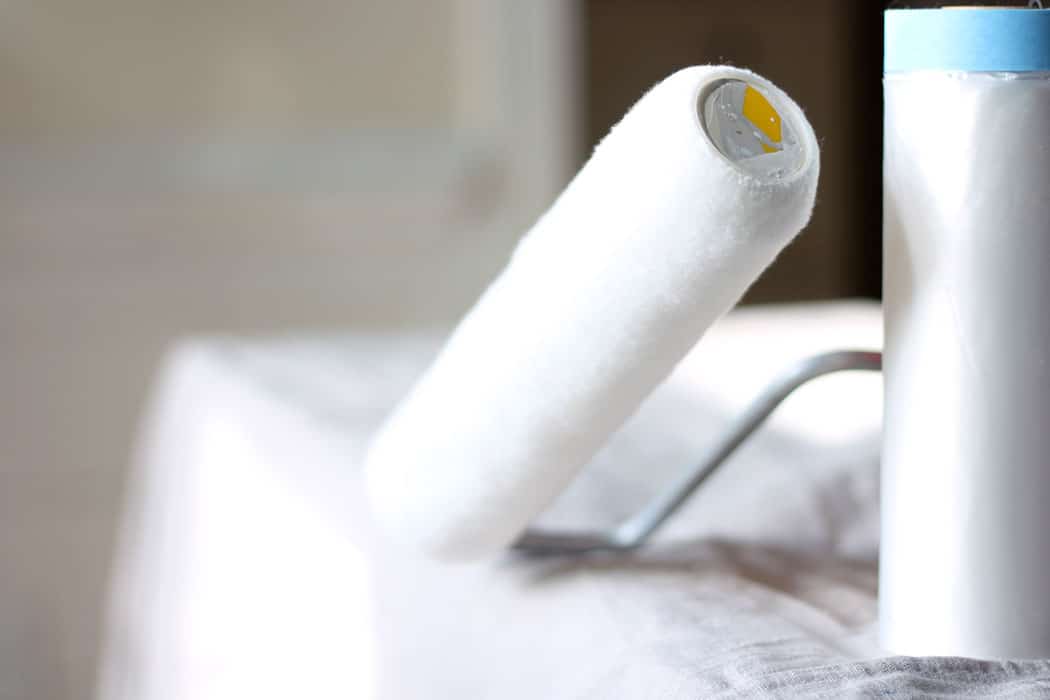
Tip 3: Use a High Quality Roller Cover – I used to buy the cheapest paint roller covers I could find, because it was just a roller cover right? Wrong! Someone once told me that I should use a wool roller cover because they were way better, so the last time I was in Sherwin Williams I asked the associate and he gave me all the benefits of using a wool roller cover. He said I would never go back…well he was right! With the wool covers, as long as you take care of them you can use them over and over again. They hold more paint, and have a more even paint streak. I noticed that I didn’t use as much paint because these little wool covers held more paint and rolled on more evenly.
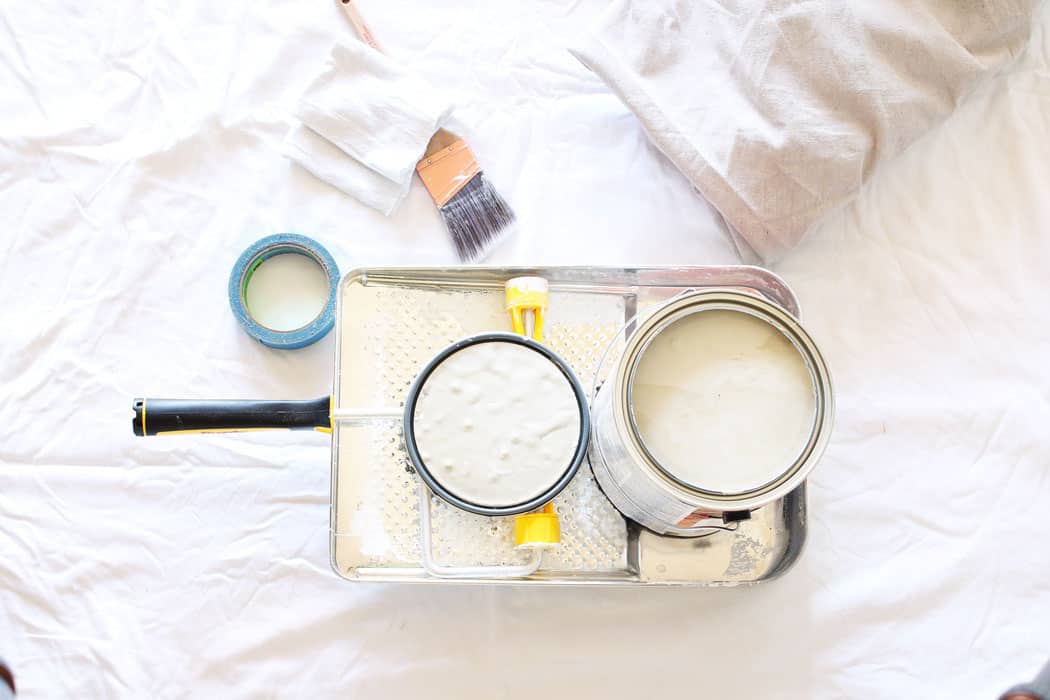
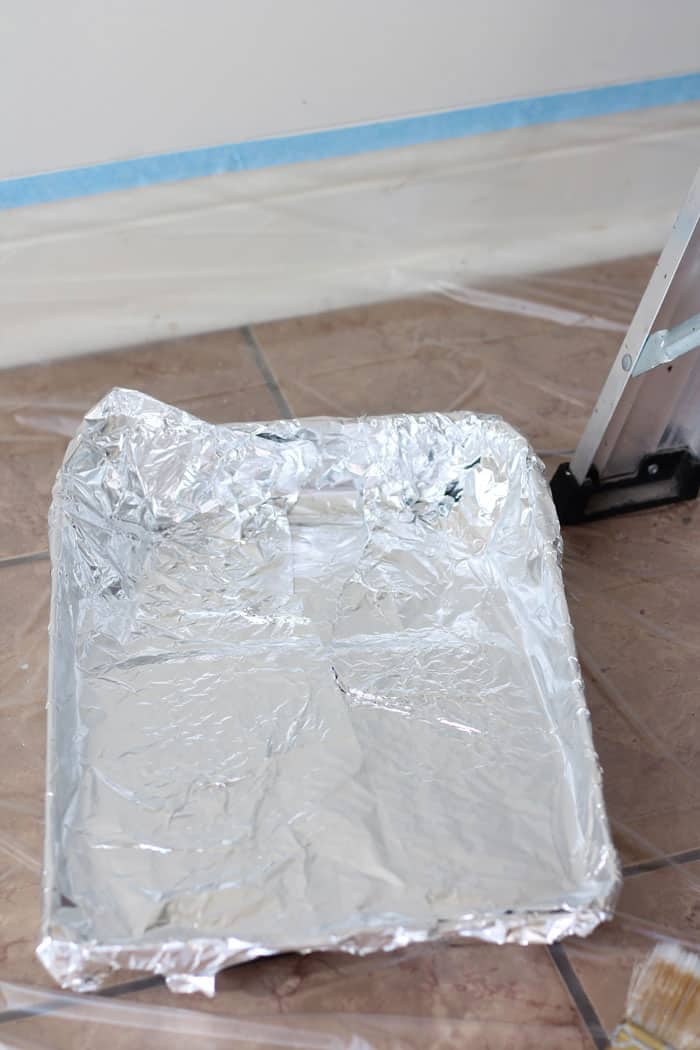
Tip 4: Layer your paint tray with aluminum foil – I’m not sure why I wasn’t doing this all along! There is no tray clean up after you’re done…none! No scrubbing or scraping, just throw it in the trash. Doesn’t look pretty but such a time saver. Brilliant!
Tip 5: Move your roller up and down in a straight line – I was always taught to paint in a W formation, but a professional painter recently told me to roll up and down and with each new line keep the edge wet but rolling 1/4 of your roller over the previous line. This will keep from having streak marks. I don’t know the proper paint technique but when I gave this a try and I painted the room super fast! Almost each line was complete without any areas I needed to go back over. Don’t forget not to push down on your roller as you roll. Let it glide up the wall and do it’s thing!
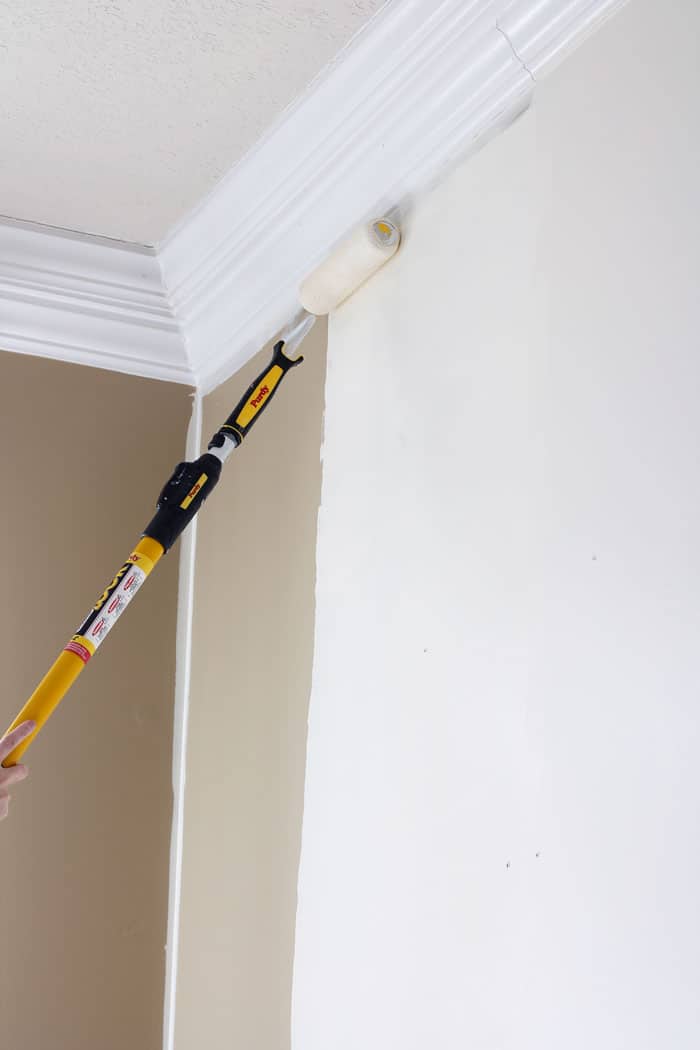
Tip 6: Use your shortcut brush to cut-in – We talked about this earlier on my favorite tools, but this Wooster Shortcut brush saves me a lot of time. I don’t have to tape off every edge!
Tip 7: Cover your painting tools with plastic wrap between coats – No one likes a crusty paint brush or dried paint in their freshly painted walls, so make sure to have some plastic wrap on hand to keep your roller and brushes from drying out between coats!
![]()
This post contained affiliate links. For more information, see my full disclosures here.
Looking for More Painting Posts:
- How to Paint Baseboards Like a Professional
- Best White Paint for Trim
- The Best Shades of White for Interiors
- The Best Farmhouse Paint Colors
If you’re looking for more FREE home decor tips and tricks, the Creating a Timeless Home Guide will help you create a home you love that will never go out of style! Also check out a couple of helpful cheat-sheets to help you out along the way. The Decorator’s Cheat Sheet has all the home decorator’s measurements you need to design a room you love and the Guide to Picking Perfect Paint Colors will ensure you always choose the best paint color for your space!


")


