


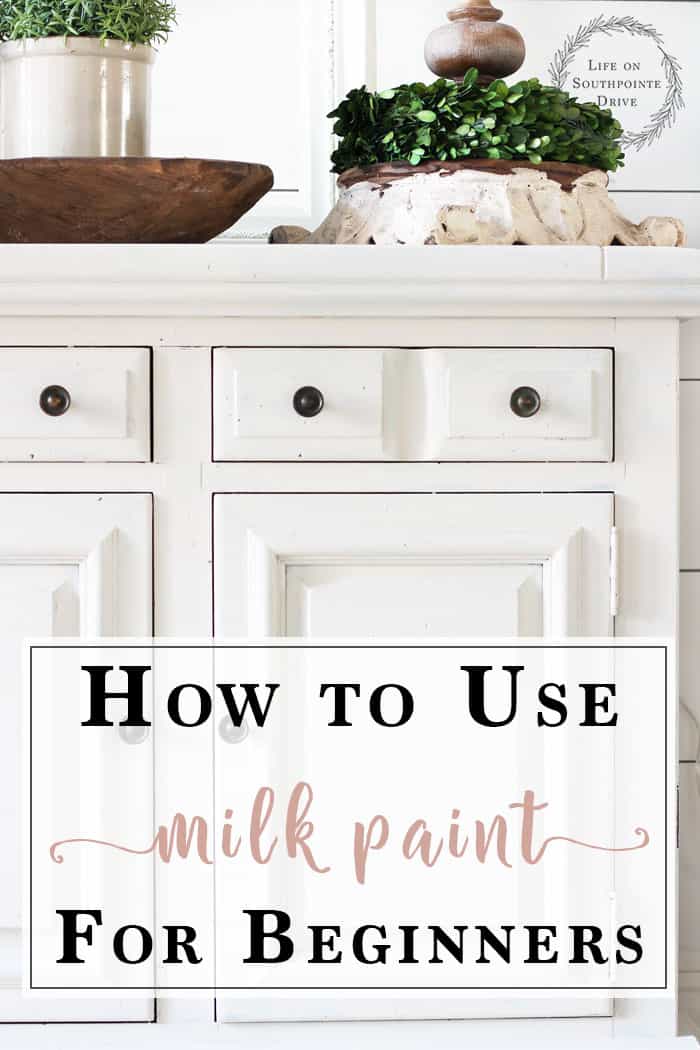
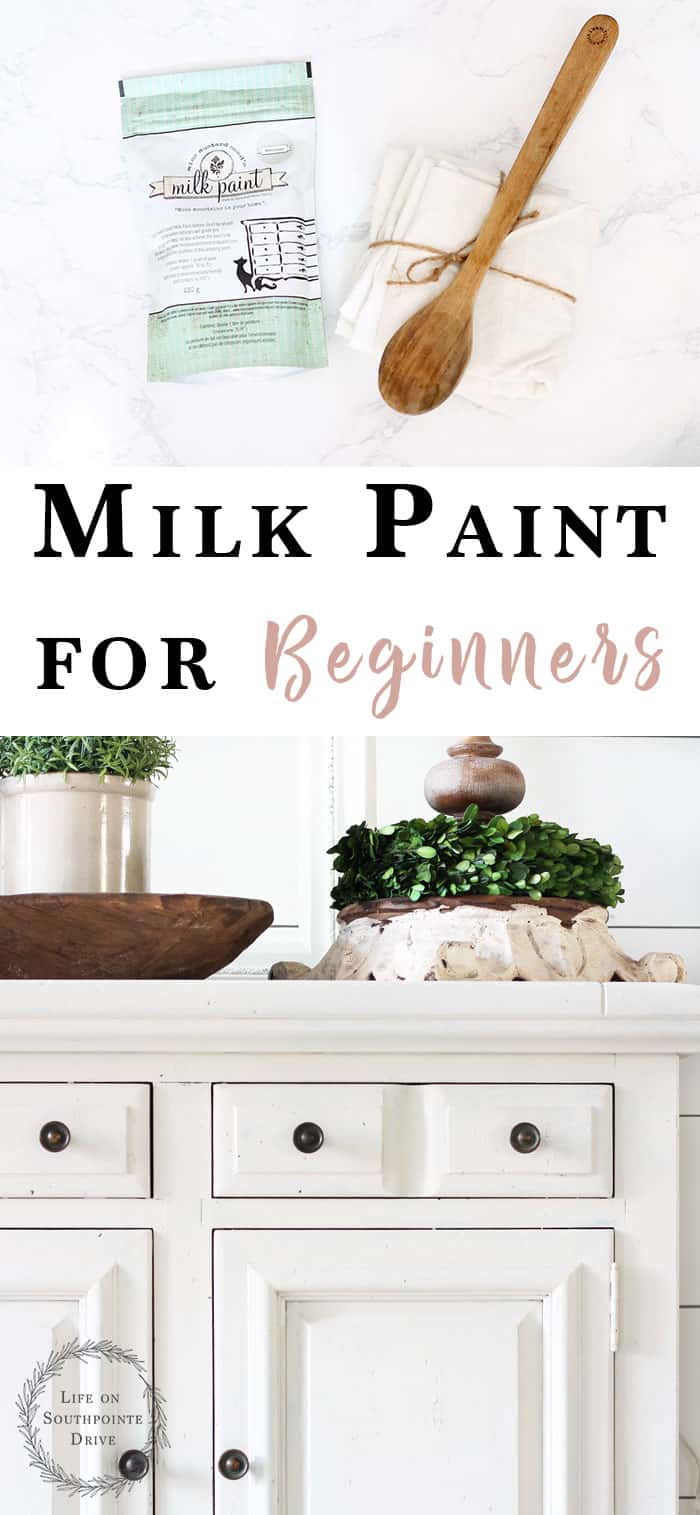
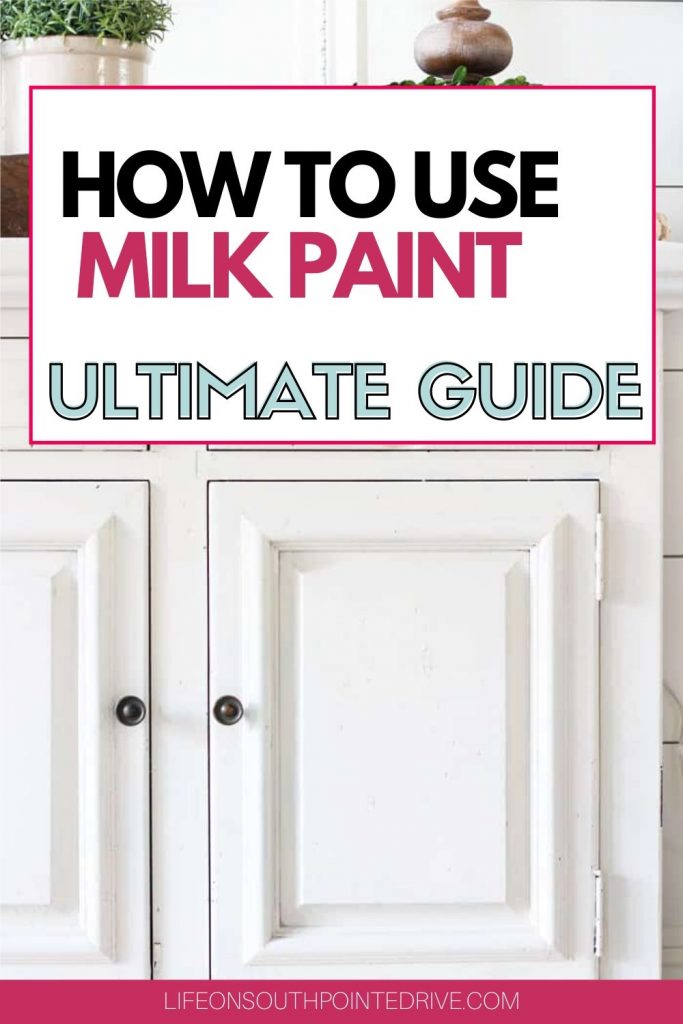
Wanting to get that naturally distressed finish? Learn how to use milk paint with this ultimate guide, and get ready to transform your own furniture!
This post contains affiliate links. For more information, see my full disclosures here.
I am a sucker for a good furniture makeover….is there anyone else out there that feels me on that?! You can turn even the ugliest piece of furniture you find on the side of the road into something breath taking just with a little coat of paint. As some of you may know I am usually a major lover of chalk paint, and I still am. Some of my favorite DIY projects have used chalk paint like this Restoration Hardware inspired chandelier, these awesome book transformations with chalk paint, and this upholstered chair! I will go over it all in this Ultimate Guide on How to Use Milk Paint!

What is Milk Paint?
Milk paint is one of the oldest forms of paint around. Some of the oldest buildings in the world were painted with some form of milk paint. This paint even goes back into the days of cave wall painting and the pyramids! 😉 The way milk paint gets its name is that it is made out of casein, the protein that you find in milk. In order to make the casein (which is the base of milk paint) into milk paint it is also mixed with chalk, clay, oxide, and limestone.
Milk paint comes in a powder form which makes a lot of people nervous, and uneasy (I was one of them), but it really is such a simple paint to use. It is also very versatile and can be used to achieve many different looks.
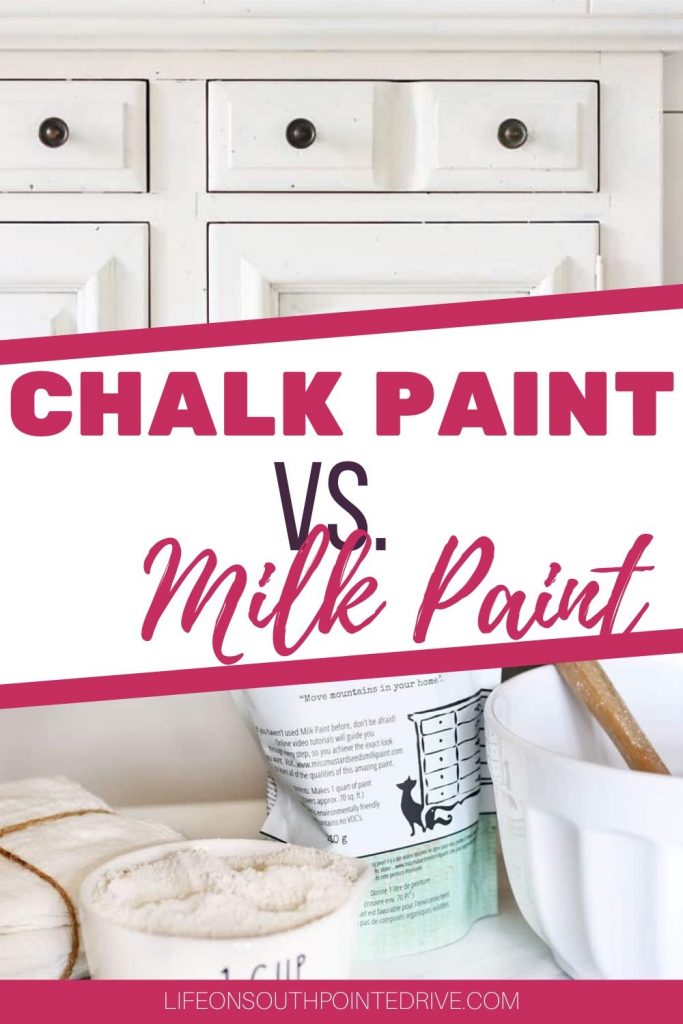
What is the Difference Between Milk Paint and Chalk Paint?
Having always used chalk paint for most of my furniture makeovers, I really didn’t originally know the difference between the two. So what is the difference? Well after having used both, I can tell you that these are two totally different paints and there things I liked and disliked about each one. Let’s look at some of the differences:
- Most visible difference is that milk paint comes in powdered form and then mixed with water. Chalk paint comes in a liquid form and is only sometimes mixed with water thin it out.
- Milk paint is 100% natural. It is also a zero VOC paint that is biodegradable and non-toxic.
- Milk paint is the perfect paint to use on raw wood. The adhesion on raw wood is much better that it is on pre-finished wood, but will stick better with adding bonding agent when applying to pre-finished wood. Chalk paint is not picky on the type of wood it will take too and with a coat of wax over it should not chip or peel.
- Milk paint can give you that distressed chipped look and will look naturally chippy. Chalk paint can be distressed but can not give a naturally chippy look.
How to use Milk Paint
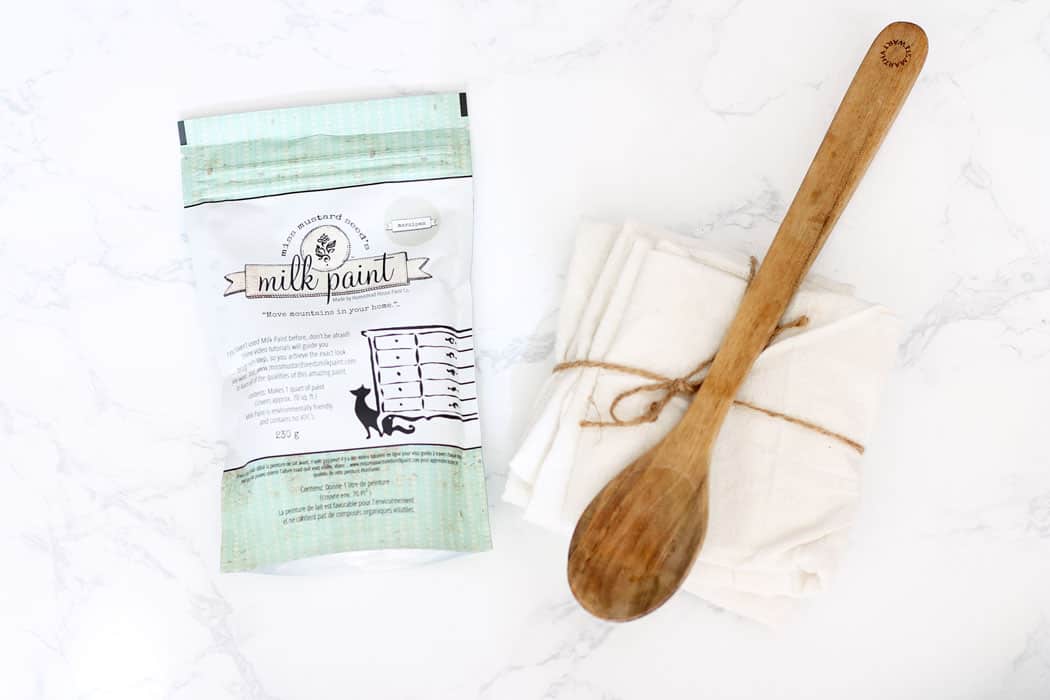
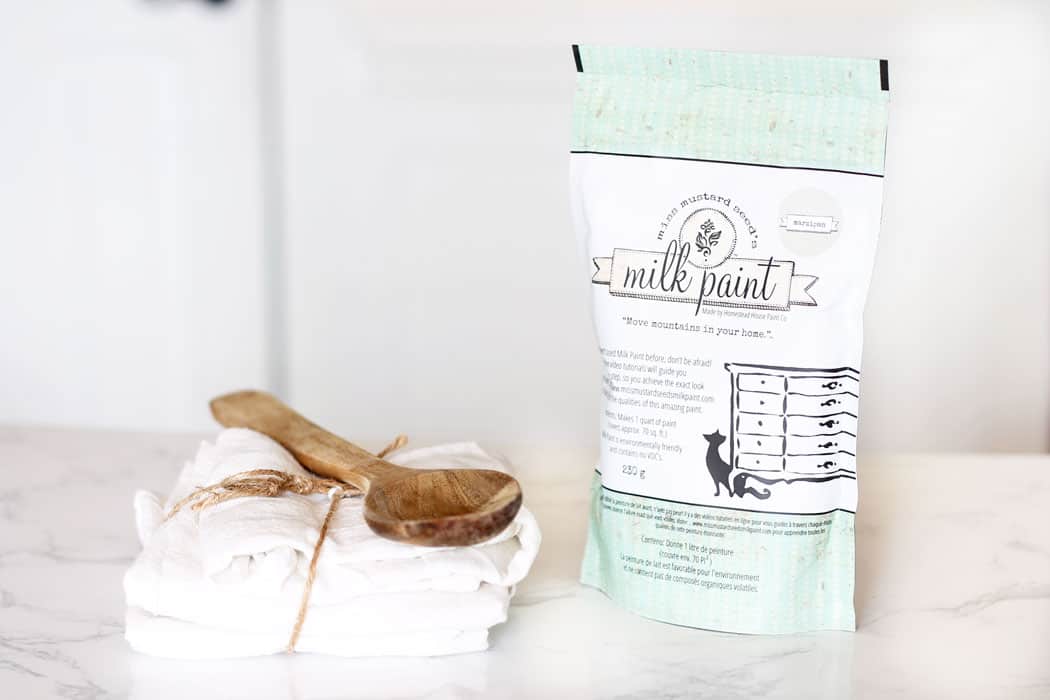
Materials Needed:
- Milk Paint (I used Miss Mustard Seed) my favorite color is Marzipan
- Old lint free cloths
- Sanding sponge
- Chip Brush
Step 1: Mix it up – this paint really is hard to mess up. I think a lot of people are scared because they have never mixed dry paint before. It’s really simple.
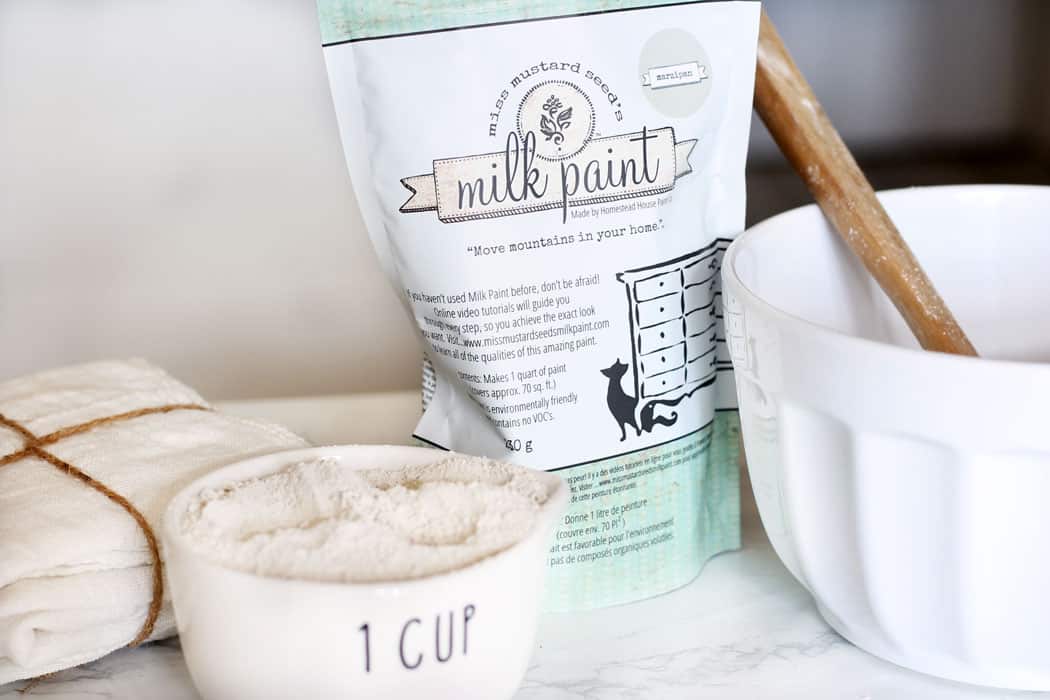
How to Mix Milk Paint
- First pour a small amount of milk paint into a mixing bowl or cup. If you’re painting something small, start out with 1/2 cup, for something a bit bigger start with 1 cup of milk paint.
- Next add equal parts water. Meaning if you added 1/2 cup of milk paint add 1/2 cup of water.
- Mix it up well. I usually use my wooden spoon, but will sometimes use a small blender just to make sure I get all the lumps out.
- The paint will naturally be thinner than other paints and will feel pretty watery. Sometimes you will need to add more water or milk paint to get the consistency that you’re looking for, but remember it should be a bit watery.
- Chances are it will have small lumps and that is ok.
- Let the paint sit for about 15 min to thicken up a bit.
Step 2: Sand off your furniture – While the paint is sitting for the 15 min, this is when I will start sanding the piece. Unless you are painting directly onto raw wood, I always give my piece a light sanding before painting. I am only wanting to scruff if up to get off the shiny and let the paint adhere better to the wood. A little tip if you’re wanting your piece to be really chippy is to sand more in areas that you want to paint to stick better and less in areas that you want the paint to chip off.

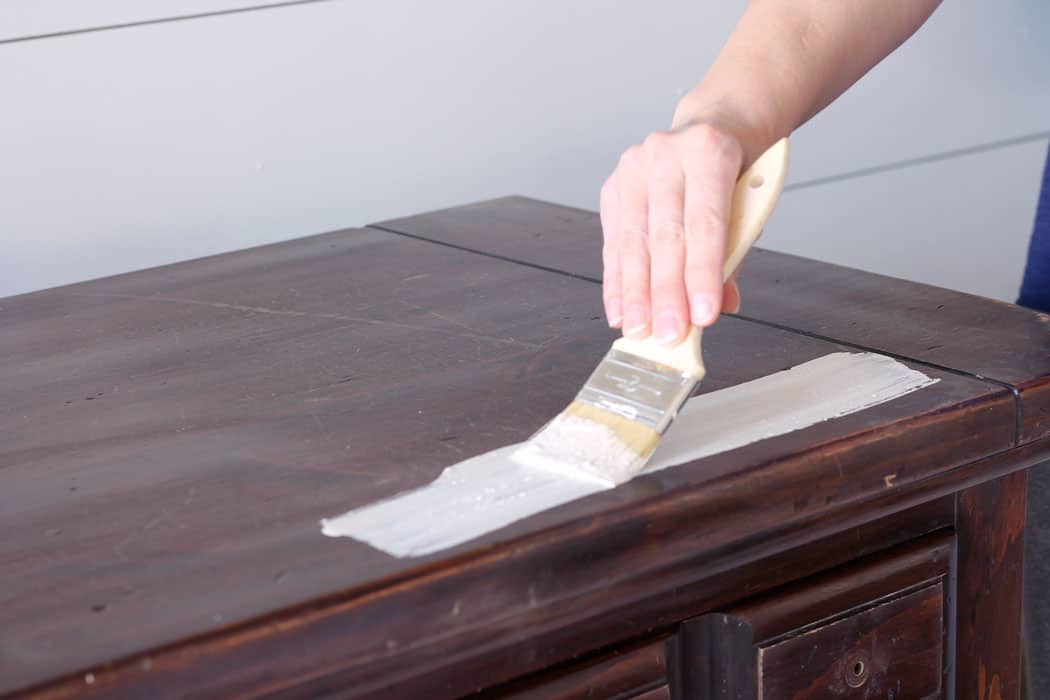
Step 3: Time to start painting! – Your paint has sat for about 15 min and you have sanded down your piece of furniture and now is the time to start painting. You really don’t need to have a great technique with milk. I love how forgiving this paint is and you can just brush it on in even strokes. I usually use a chip brush for this. The color I am using is called marzipan and it is the perfect creamy color with a tint of gray!
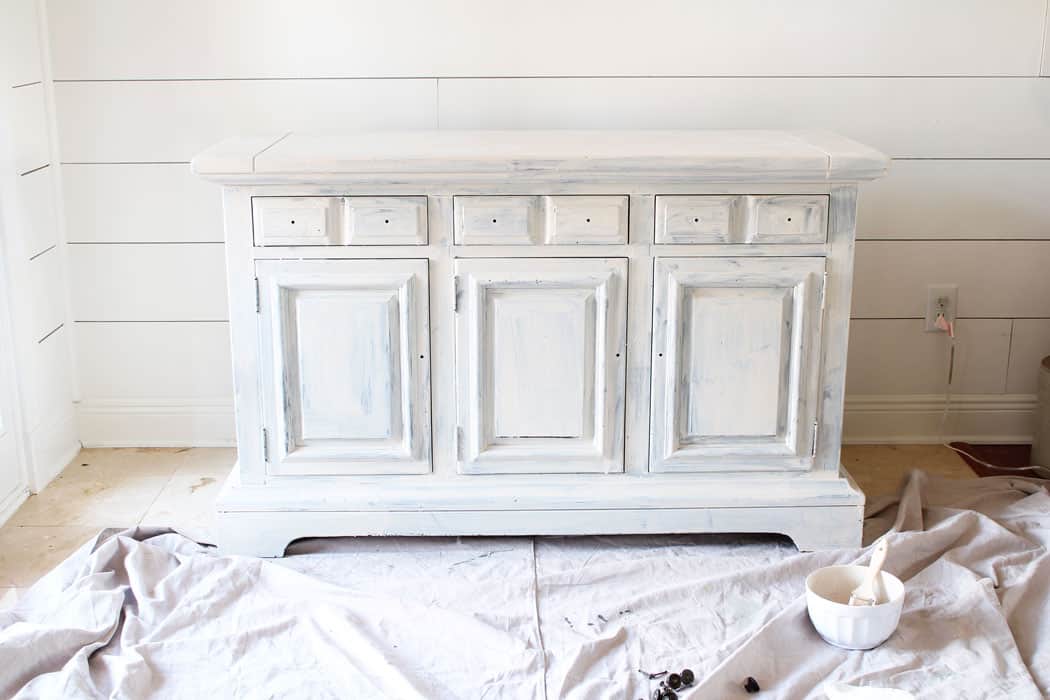
Step 4: Let it dry – Let this be a warning that after your first coat of paint, you are going to hate it! It will not look like you’re expecting and you will think you’ve ruined it, but trust me, after you apply that last coat it’s a world of a difference. Here is what mine looked like after the first coat:
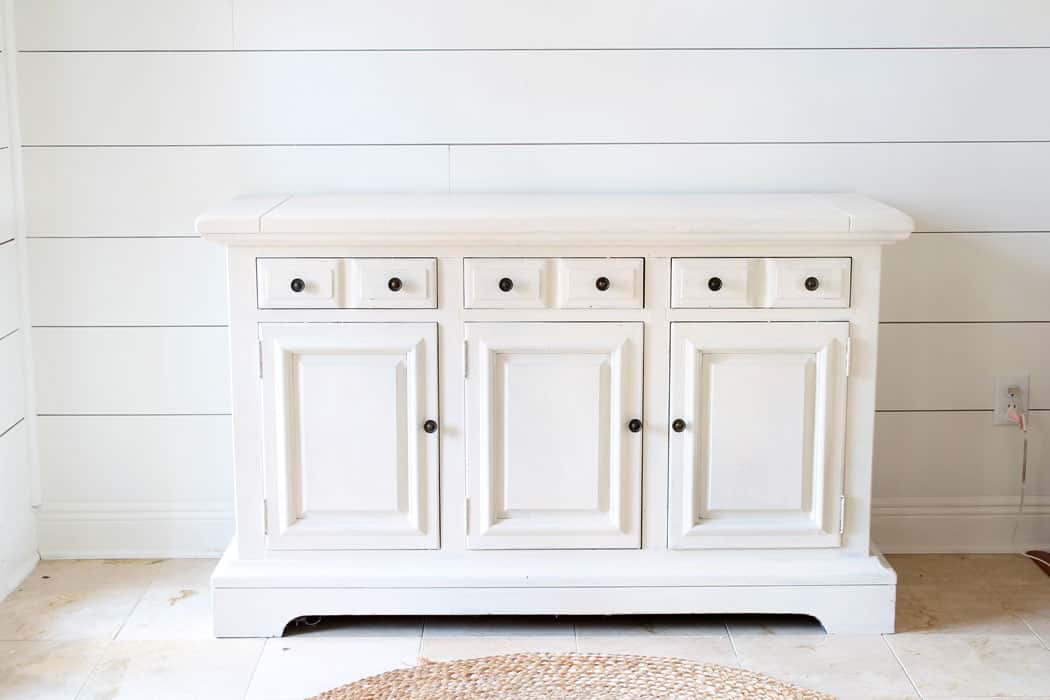
Step 5: Apply the second coat – I usually only apply 2 coats, but some will apply more. For me the second coat usually does it. Sometimes I will lightly sand down a few spots between coats depending on if there are any lumps. As you’re applying the second coat you’re really going to see this piece come together! Here we are after the last coat:
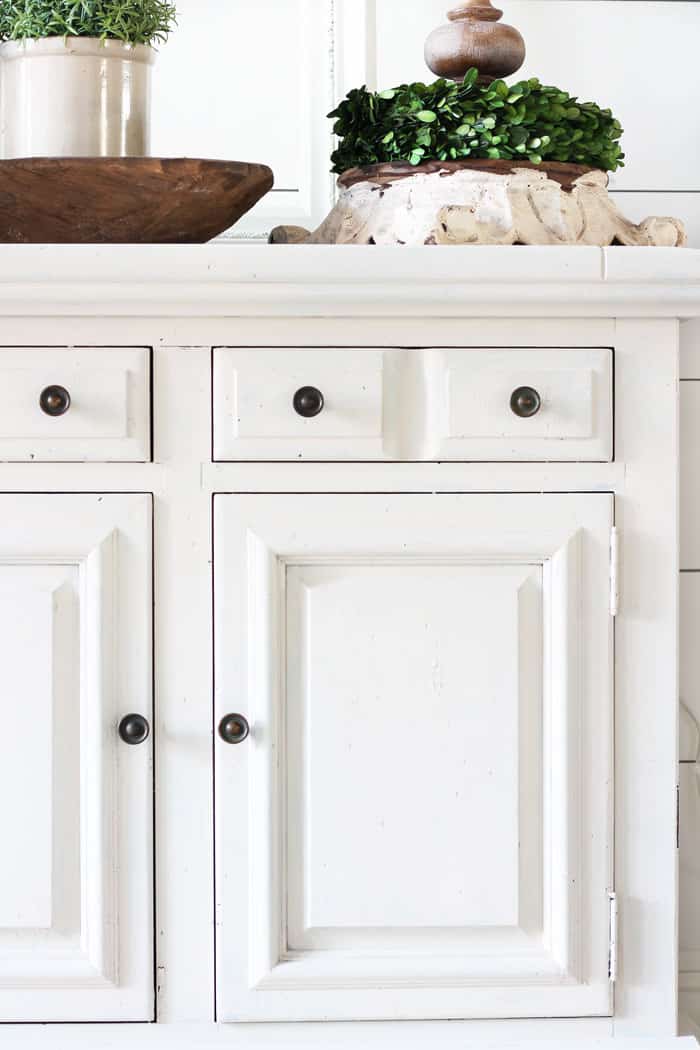
Step 6: To seal or not to seal – I decided to let mine sit unsealed for a while so it would start to naturally chip away with me helping it a bit along the way. I know you all are wanting to see that right now, but I will be bringing that process to you soon! If you decide you want to have it like it is then you would want to seal it with some clear wax or other furniture sealant. And you’re done!

Milk Paint FAQs
- How do you mix milk paint? Milk paint can be mixed in many different ways and it all depends on your project. For a solid look you will mix one part water to one part milk paint powder. For a stain or a wash mix 3 parts water to one part milk paint powder. You can always adjust the consistency by adding more water to make it thinner or adding more powder to make it thicker.
- Is milk paint safe? Yes! Milk paint is all natural and is actually a zero VOC and biodegradable.
- When do I use a bonding agent? You would want to use a bonding agent on any previously finished or painted surface. If you the paint can no absorb, then it will chip.
- How do I get that “chippy” look? If your piece is raw wood, you will need to use a wax puck or hemp oil on the areas that you would like to naturally chip. On wood that is pre-finished or painted, do not sand in the areas that you would like it to chip, or you can add a little wax to areas after sanding.
- When would you use hemp oil instead of wax? I have always heard that if you are painting a piece that will be used outside then you need to use hemp oil. It holds up much better outdoors than wax.
I hope you’ve loved this and can’t wait to start your own milk paint project!
This post contained some affiliate links for your convenience. For more info, see my full disclosures here.
Looking for More DIY Posts & Guides:
- What to Know Before Making a Shiplap Wall | The Ultimate Guide
- How to Paint Upholstery
- DIY Chalk Paint Chandelier
- DIY Built-ins with Ikea Billy Bookcases
- DIY Quote Sign
- How to Install DIY Shiplap
- Homemade Bath Bombs
- How to Make a Book Look Vintage with Chalk Paint


")


I love the color you chose! It looks like it works perfectly in your beautiful home. Well done, Holly!
Thanks girl! I love this color too. It’s not too white that it blends in with the shiplap so it has a little contrast and I love it! 😉